Basics
This section of the tutorial will be focused on familiarizing you with the basics.
Launching the Creator
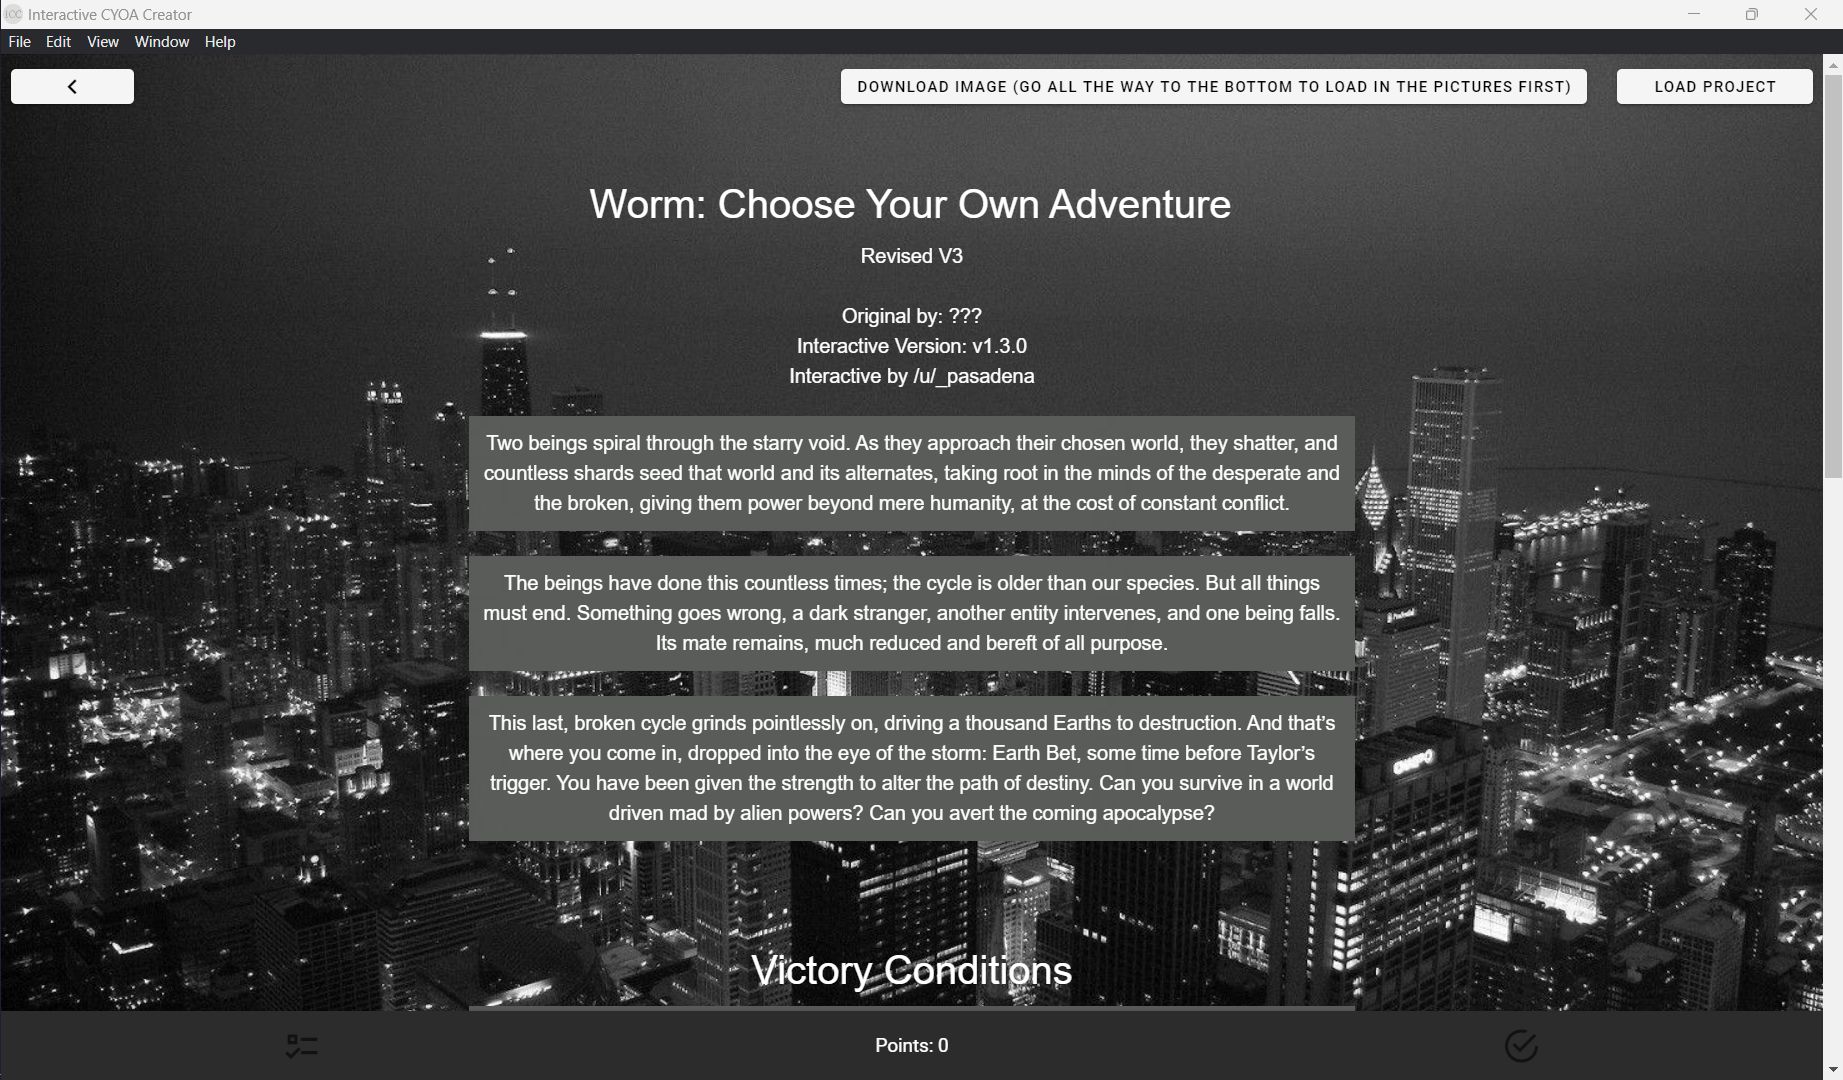
When you launch the creator for the first time, you will be greeted with this screen:

Open Image-CYOA Creator
This is where you go to create Interactive CYOAs.
When you first open it, you will be greeted with a blank screen and a minimized sidebar. To learn more about the sidebar, go to The Sidebar.

This is what a complete CYOA would look like in this menu:

Open Image-CYOA Viewer
This is where you can preview CYOAs before you upload them.
Warning
Options selected in the viewer will persist in the editor, so make sure you reset the options. Otherwise, playtest your CYOAs using a separate instance, or by launching it with the official Viewer HTML files.
You can use this fact to your advantage by selecting default choices.
Help and Instructions
A small tutorial made by the author themself. It should be redundant with this tutorial, but you may wish to check it out anyway.
Parts of that tutorial will be quoted throughout this one.
The Sidebar
The sidebar is how you manoeuvre around the creator. Please note that the sidebar is only accessible if you hover over it.

Return To Menu
This takes you back to the start.
Create New Row
This is how you create rows. See more here.
Open Row List
This lists all the rows inside of the interactive. It lists them with their ID by default, but if given a title, it will use that instead.

You can select individual rows to expand them and see choices:
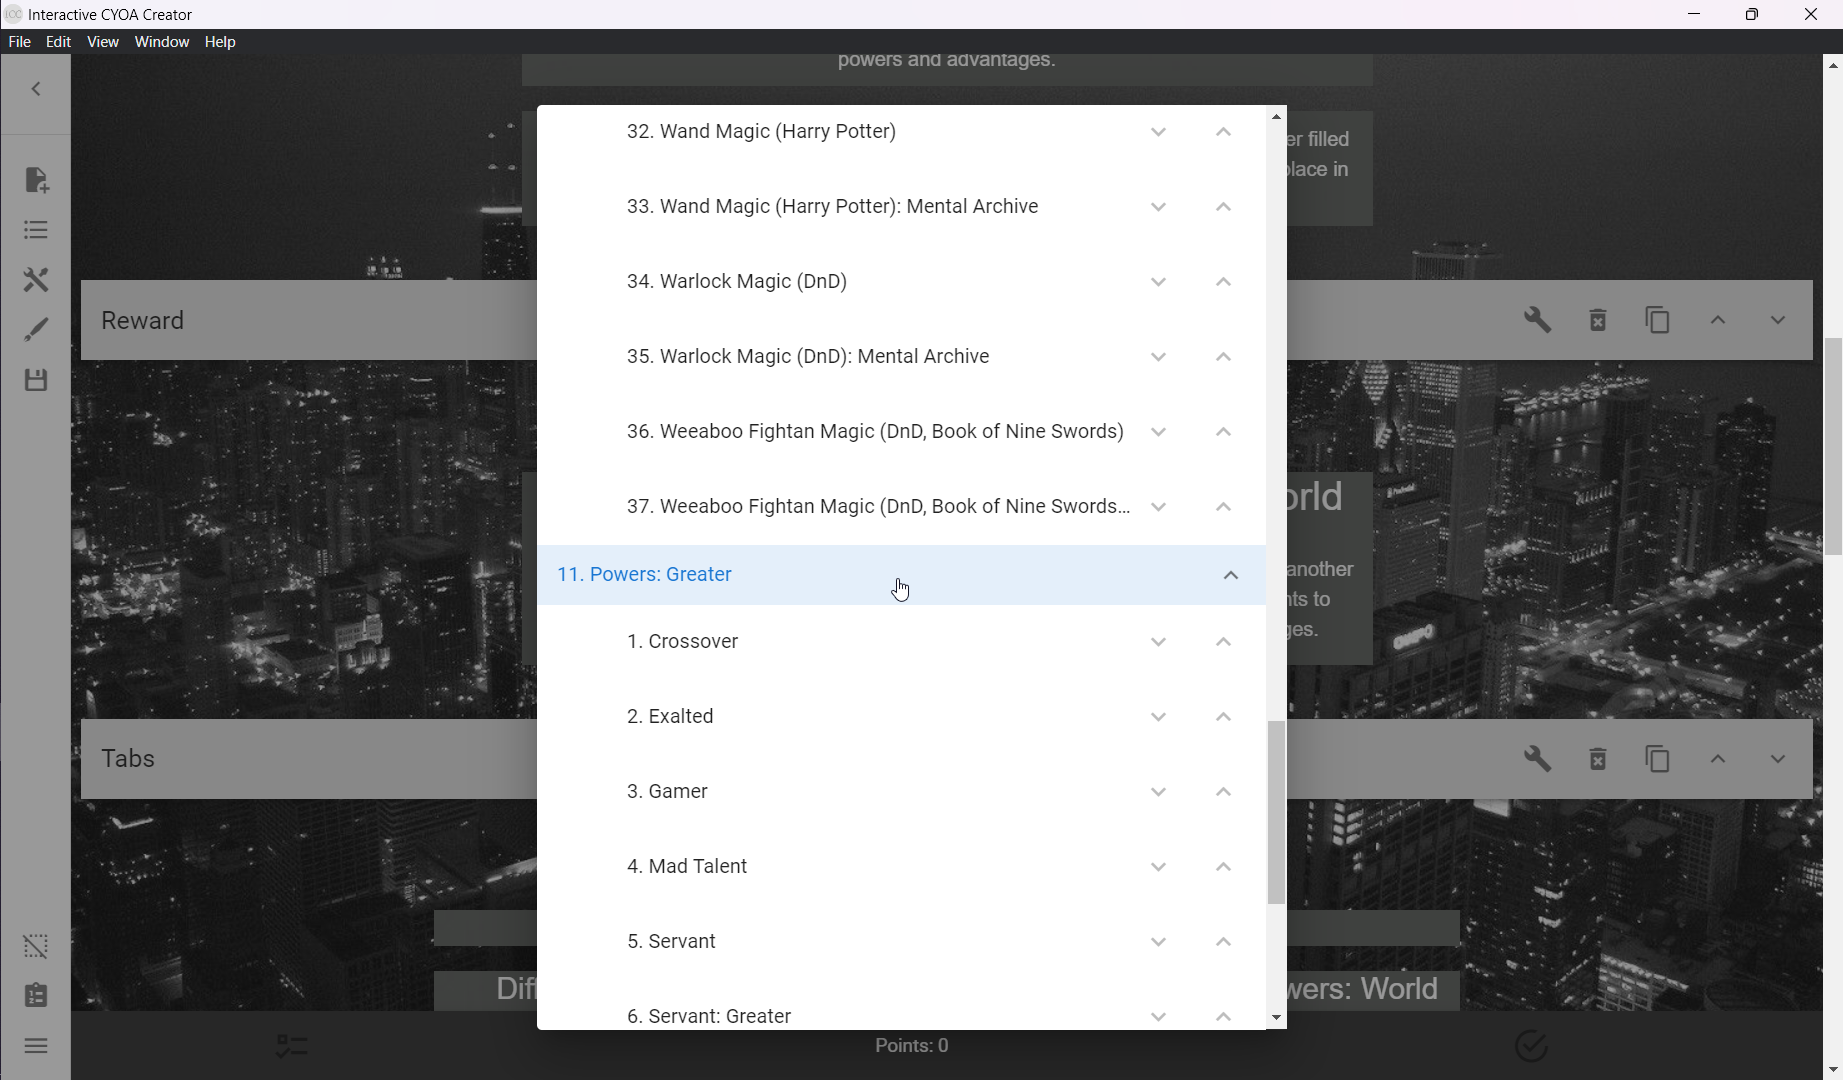
By pressing on the arrows, you can quickly move Objects around.

By dragging on the Rows, you can quickly move Rows around.

Open Features
Pressing Open Features will present you with one of the most important menus in the creator. It grants you access to a lot of the mechanics, such as points, defaults, the Backpack and Choice Import, and image compression.
All of these features will be elaborated later on, so they won't be talked about in detail here.

Modify Design
The Modify Design button will open up the key to designing your CYOA. This is quite important if you wish for your CYOA to be approachable and visually appealing. You can learn more about it here.

Save/Load Project
This menu is a place you'll become quite familiar with when creating CYOAs, as this is where you will go to save, load, and export your project.
Tip
Save and save often!
Crashes during creation are not unheard of, and the chance increases the larger your project.json is. Make sure you save often.
It is also advisable to keep backups, either on the cloud or with a different name locally. If you save an irreversible or time-consuming mistake, then it's easier to save from a previous version.
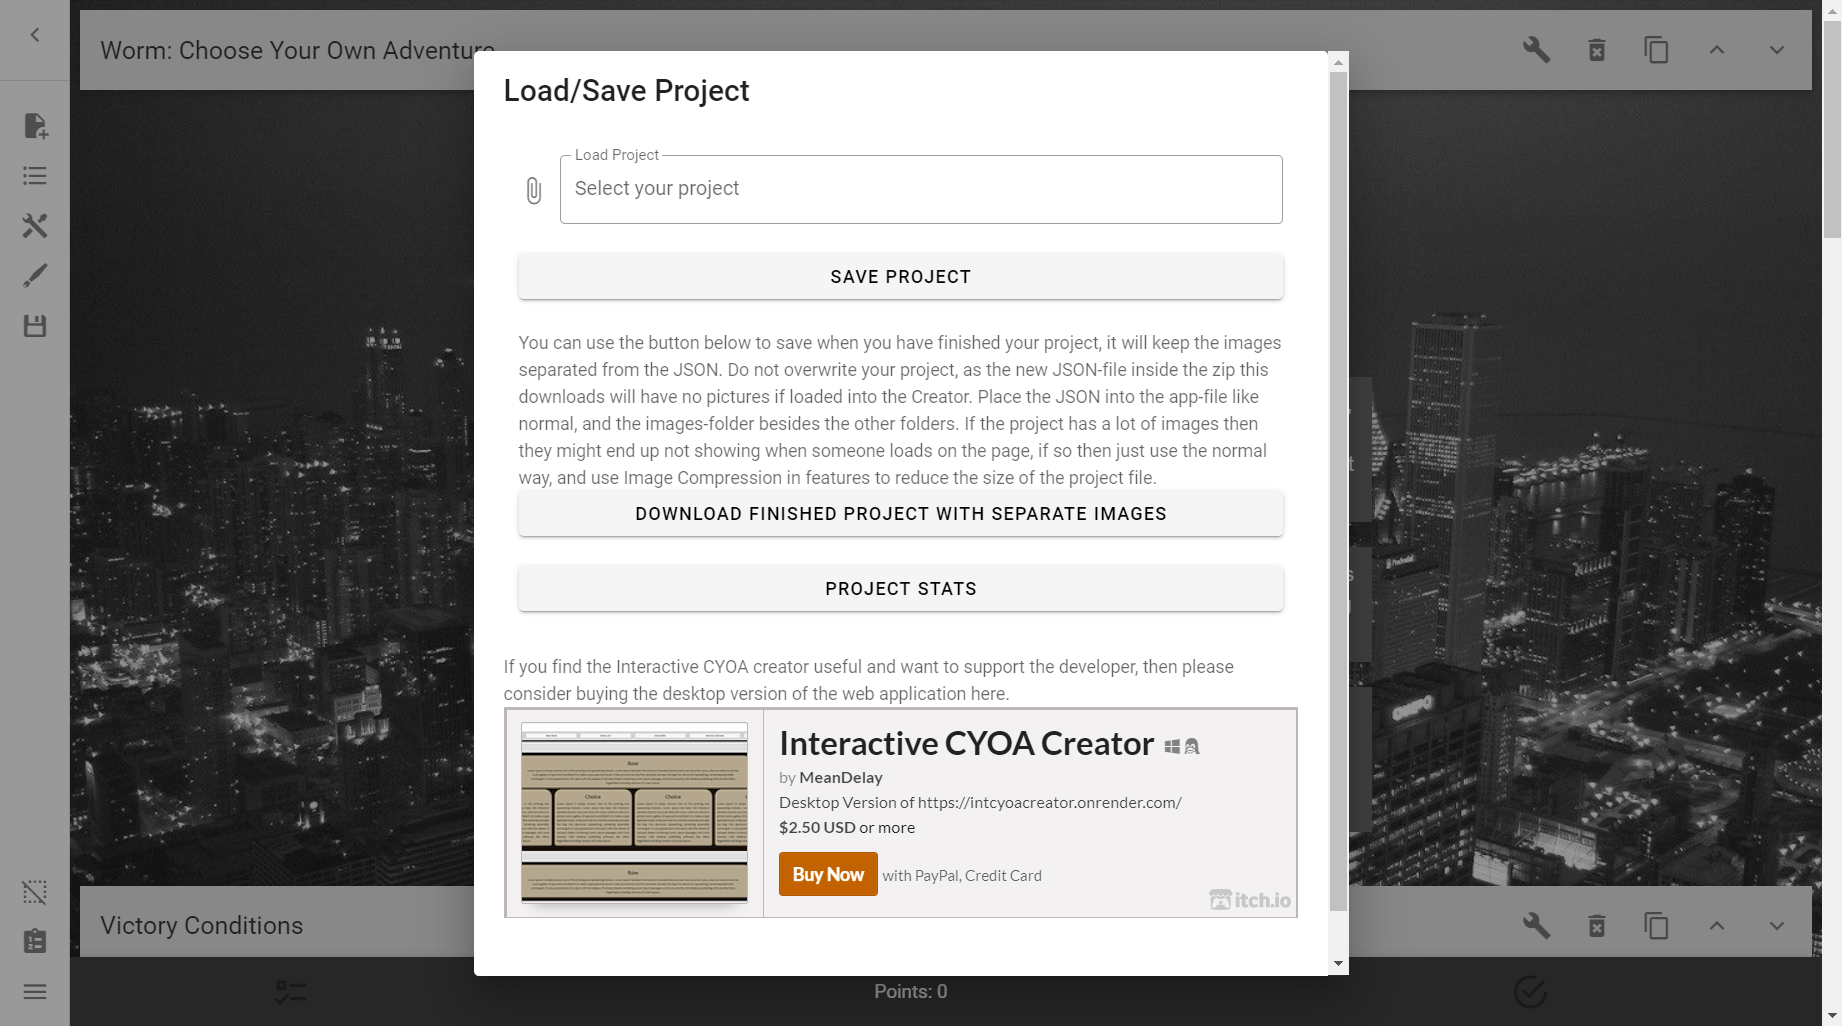
- To save a project, simply press Save Project, and save the
project.jsonsomewhere convenient. This should be its own folder, and in the same place as your Viewer files. -
To load a project, simply press the input labelled Load Project with the placeholder text Select your project. This will open a file dialogue where you can select a previous
project.json.Danger
Do NOT drag your JSON file into the "Load Project" dialogue box. It is a button and dragging the file on it—if in a web browser—will simply replace your browser window with the file.
This is bad because if you had unsaved work, it would all disappear.
-
To export a project, press Download Finished Project with Separate Images. This will give you the option to save a
hello.zipcontaining your CYOA. Rename it at your leisure.After you've saved it somewhere, extract it. You will notice that, if your project was large enough, the
project.jsonis much smaller than before. This is because it separated the images from the project.json, allowing for faster loading times.If you have lots of images, then exporting might not be your best option. As the creator itself says:
Quote
If the project has a lot of images then they might end up not showing when someone loads on the page, if so then just use the normal way, and use Image Compression in features to reduce the size of the project file.
This menu also allows you to see the stats of your project, such as character, choice, image, and row count. Access this by selected Project Stats.

Clean Selected Choices
As warned above, if you've used the Viewer and selected choices whilst developing at the same time, then when you go back into the creator, you may notice that the choices are still selected.
This button provides an easy way to clear selected choices.
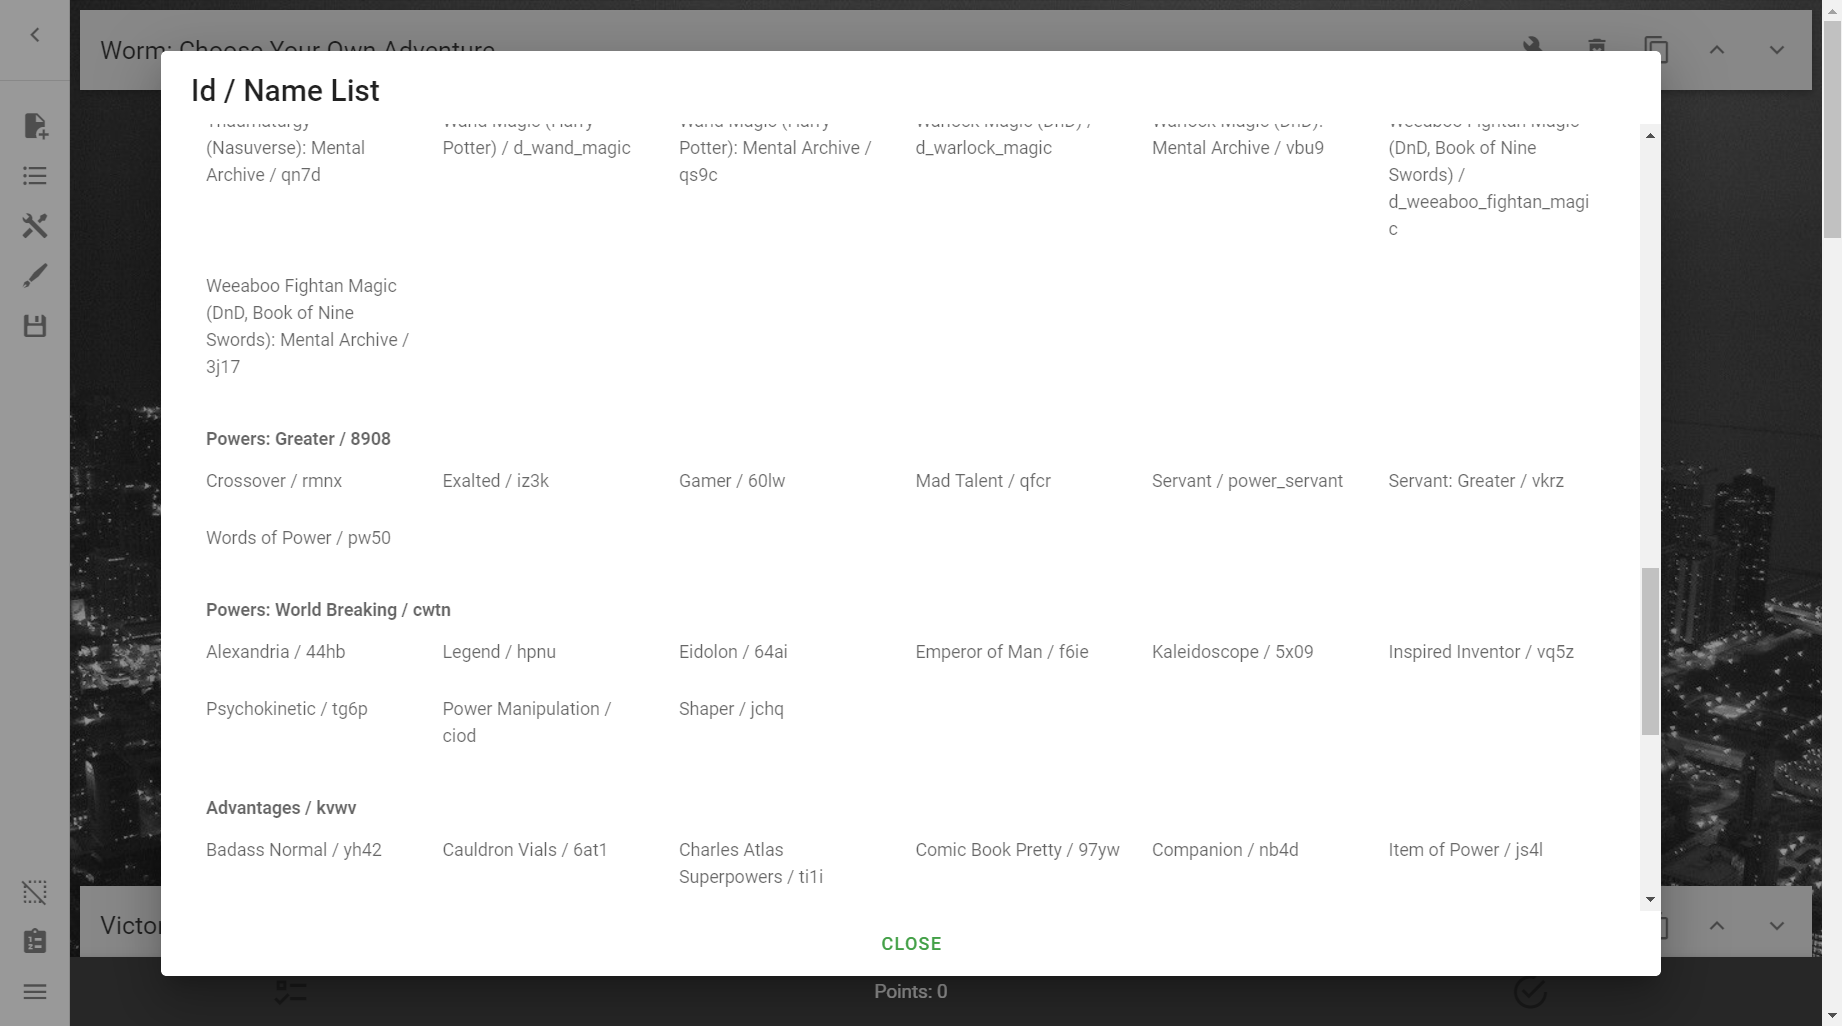
See ID/Title List
This button provides a quick reference to the titles, choices, and what IDs each of them have. This is incredibly powerful, especially in conjunction with Ctrl+F / Cmd+F, as it allows you an overview of your entire project without having to open all rows and objects.
You can use this to find the ID of an Object using its title and vice versa.
Use Alternate Menu
The Alternate Menu is an alternative way of displaying the sidebar, this time at the top of the creator rather than the side.
It was actually what the sidebar used to look like, before it was changed to how it is now.

Returning to the Default Menu
If you ever go into this menu and wish to return back to the default appearance, simply press the three-line button between De-Select Choices and New Row, as shown here:
