Creating Your CYOA
This section is focused on how to actually create your CYOA, step-by-step.
The basic structure of creating a CYOA looks like this:
- Step 1: Sourcing
- Step 2: Planning
- Step 3: Creating
- Step 4: Publishing
- Step 5: Improving
We'll go into each section below.
Sourcing
The first thing you need to worry about is where you're going to find the source of your Interactive CYOA.
If it's an original work, this step is easy, and you should have already made your own plan regarding how the Interactive will go. If it's someone else's that you're adapting, however, it could get tricky.
Adapting a Static
If you're adapting a Static CYOA there are four main ways to go about this:
- If a text version is available (or if the static is originally text), make sure you have an editable copy of the document, and go straight into the Planning section.
- If a text version is not available you've got two other methods:
- You use OCR (Optical Character Recognition) to automatically detect characters within the images. Faster than the below, but depending on the background, text, and resolution accuracy can suffer, thus requiring more correction than necessary.
- Otherwise, you have to manually type it up. This is incredibly time-consuming, and should be avoided if the CYOA is very large.
- Just ask the original authors if you can get their document on it. This isn't possible if, for example, the original author was anonymous on 4chan or has been offline since. Certain authors may refuse because they don't want an Interactive CYOA.
Essentially:
flowchart LR
    A[Start]-->B{Do you have text?};
    B---|Yes|C[Use it];
    B---|No|D{Which is more important, Time or Accuracy?};
    D---|Time|E[Use OCR];
    D---|Accuracy|F[Manually write it down];
Don't forget that you can mix and match the last two methods, using OCR on text with a simple background and a larger font, while manually writing the harder text.
OCR
Here are a few OCR programs:
- Capture2Text – A program that allows you to make screenshots with assigned keys and get text from them, without having to OCR an entire file.
- gImageReader – A GUI for
tesseract-ocr. You can add multiple images and process them in one text. - tesseract-ocr – A command-line program for advanced users.
- ocr_scan.py – A Python script I created that automatically calls tesseract-ocr on all images in a folder. Defaults to PNG files, change in the file for other file types.
- Adobe Acrobat – Has an OCR feature, but may cost money
Here is the source code of ocr_scan.py. Feel free to take this and modify it, it is licensed under the MIT licence.
Source code
Capture2Text
Note
Capture2Text is only available for Windows. Linux and Mac users will have to use another method.
First, download the latest version.
Next, unzip it, and place it somewhere where you wont delete it on accident (your Downloads file is a bad place, for example).
If you wanted to use the CLI interface it provides, add it to your PATH (Google it) so that you can access it from Powershell/Command Prompt.
If you wanted to add the application to your apps list in the Windows menu, right click the application → Send to Desktop (Shortcut). Copy that shortcut and paste it in C:\Users\YOURUSERNAME\AppData\Roaming\Microsoft\Windows\Start Menu\Programs. This will add it to your Windows menu. Try searching for it.
When you launch it for the first time, you will be greeted with this screen:

Memorize the default action (Win + Q).
Next, open up the image(s) you wanted to OCR, line up your cursor somewhere in the corner of the text you wanted to OCR, and press the default action.

Here is a gif:

Line breaks
If you are like me, you will encounter the text inconveniently having a line break after every line instead of being one big large chunk of text, like this:
Greetings, rudimentary creatureff flesh
blood. I am known as the Dark 0 e. You
probably wondering why I've bro ght yc
You died, as all mortals do. As all ortal:
But I have plucked your soul fro the vc
specific purpose. It is rare to find soul \
compatible with the transfigurati n proc
even rarer that the soul isn't des royed,
seem to be handling it well enou h. Usu
subject just explodes the momen we st;
Instead of one big line of text like this:
Greetings, rudimentary creatureff flesh blood. I am known as the Dark 0 e. You probably wondering why I've bro ght yc You died, as all mortals do. As all ortal: But I have plucked your soul fro the vc specific purpose. It is rare to find soul \ compatible with the transfigurati n proc even rarer that the soul isn't des royed, seem to be handling it well enou h. Usu subject just explodes the momen we st;
You fix this by copying and pasting the text into this site: https://24toolbox.com/newline-remover/ and pressing Remove All Newlines.
This will remove the newlines at the end of a text, combining it back into one.
For additional help, consult the documentation.
Tesseract
You will need to follow the instructions here.
Other options here like Capture2Text actually use Tesseract as a backend.
ocr_scan.py
First, install Tesseract. Second, make sure that it is in your PATH. Third, install Python and make sure you tick the option that puts Python in your PATH.
Then, get the script from static/ocr_scan.py, and run it in a folder with images.
By default it will detect PNG files. Edit the file and look for .png and change that to .jpg or .jpeg for JPG files.
Then, run it in the terminal, and it will output text files for each image.
Google Docs
Using Google Docs as an OCR tool is relatively easy, but you can only do it for one image at a time. However, as it's from Google, it is relatively accurate.
Simply right click an image file → Open With > → Google Docs.
Here's an example of it:

This can be especially useful since Google Docs has its in-built spellchecker and grammar checker.
More OCR
If you're looking for more OCR programs, then check out this list on GitHub.
Planning
The next thing you should do is plan how you're going to incorporate mechanics into your CYOA. I recommend doing this in where you've got the text of the CYOA that you will be putting in the Creator (I recommend Google Docs).
Go through each option in the document, and consider how it can be achieved via the Mechanics of the ICC. If a choice requires a previous option, write down by the choice's text that it needs a Selected Choice requirement for this other choice, etc.
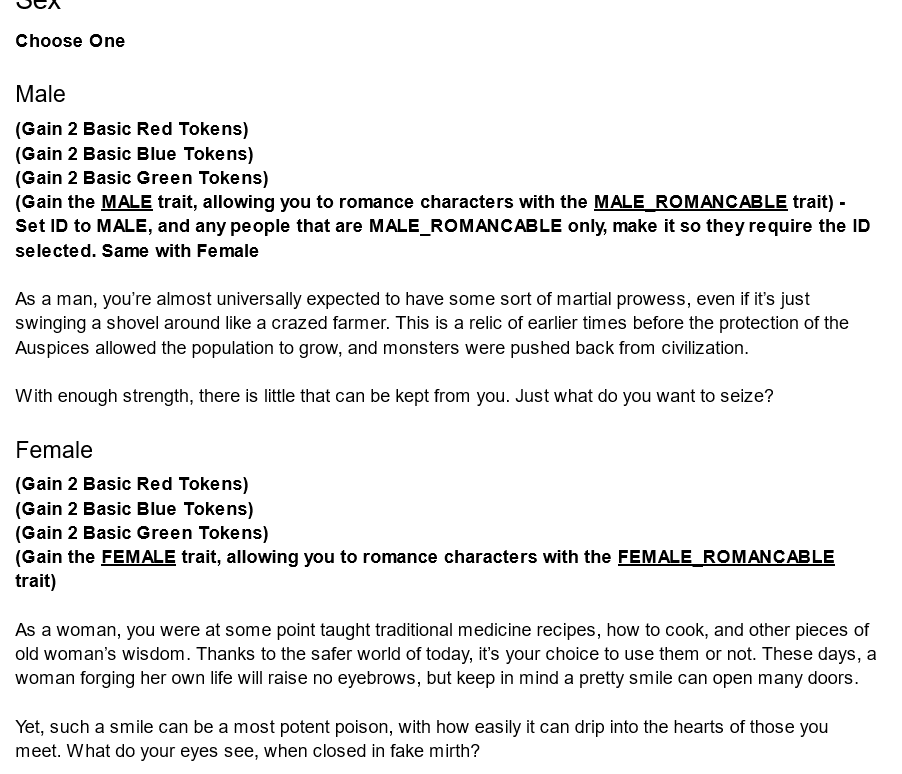
Here's an example from my plan of the JRPG Traitor Interactive (which is 259 pages long…):

As you can see, I integrated the text with the mechanics (marking the mechanics in bold and the text normally), such that when I go through each option when actually creating the CYOA, I would know what I would need to do, without needing to rethink a solution.
Creating
Now for creating, it's rather simple (though not necessarily easy, depending on your CYOA and skill level) to create. Just go through each of the choices which you have now marked and implement the mechanics.
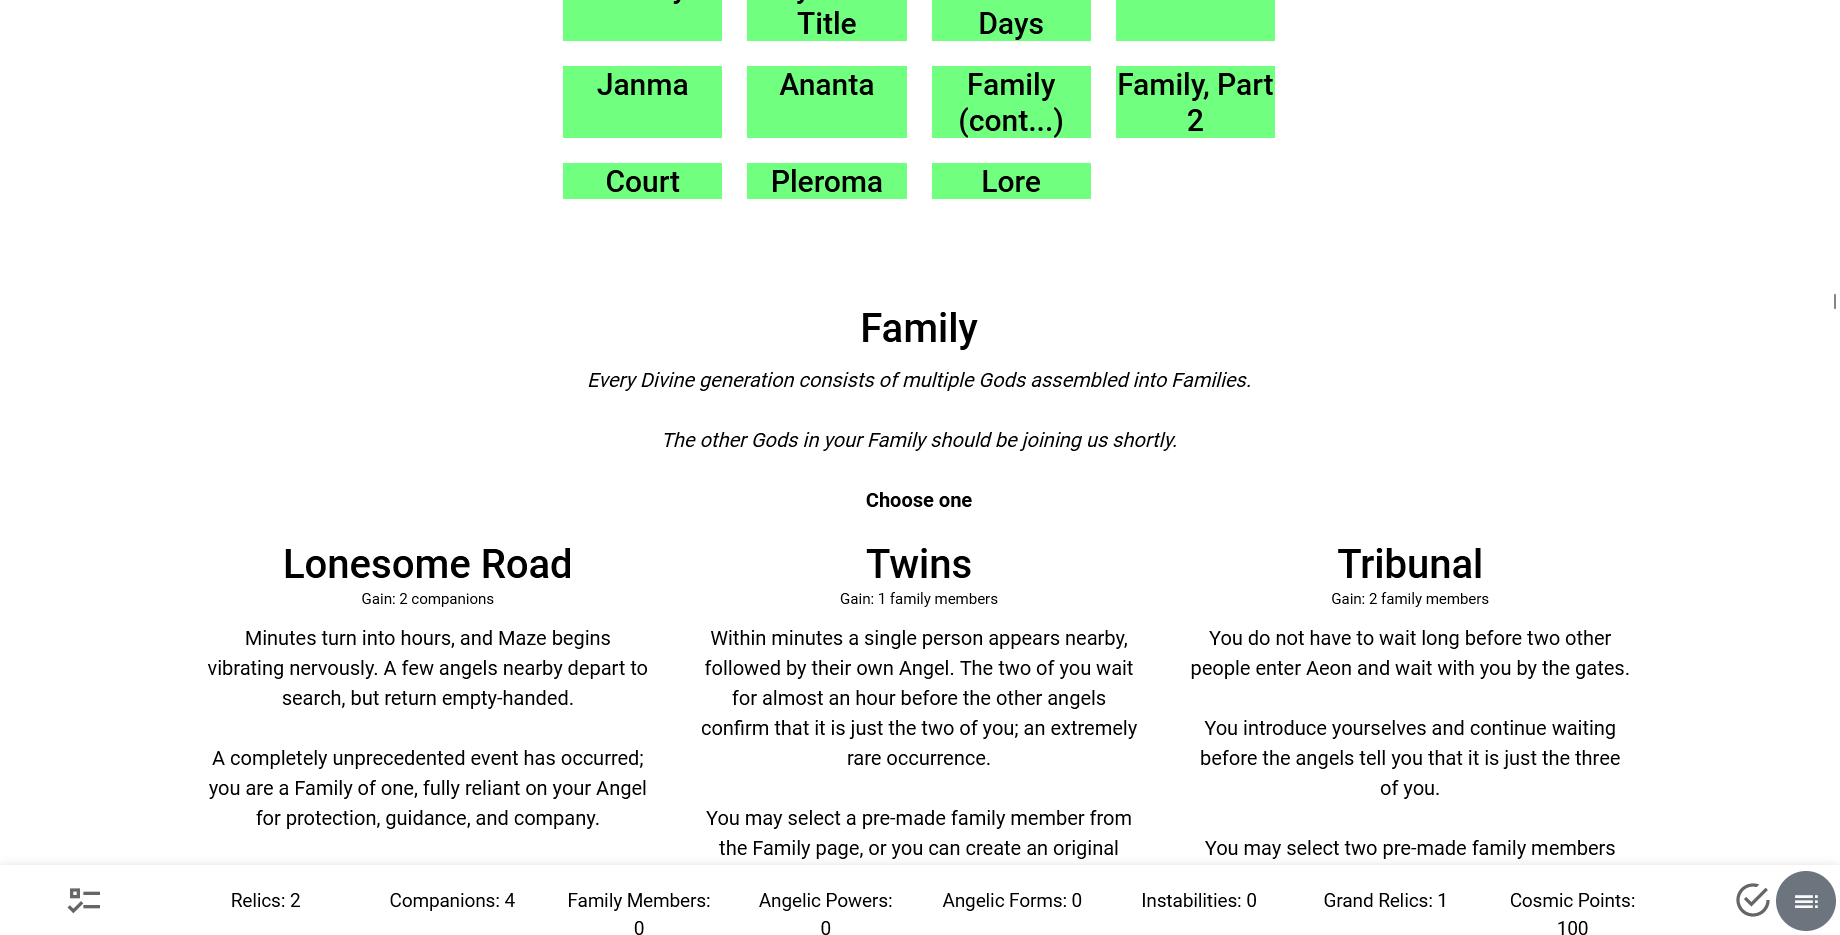
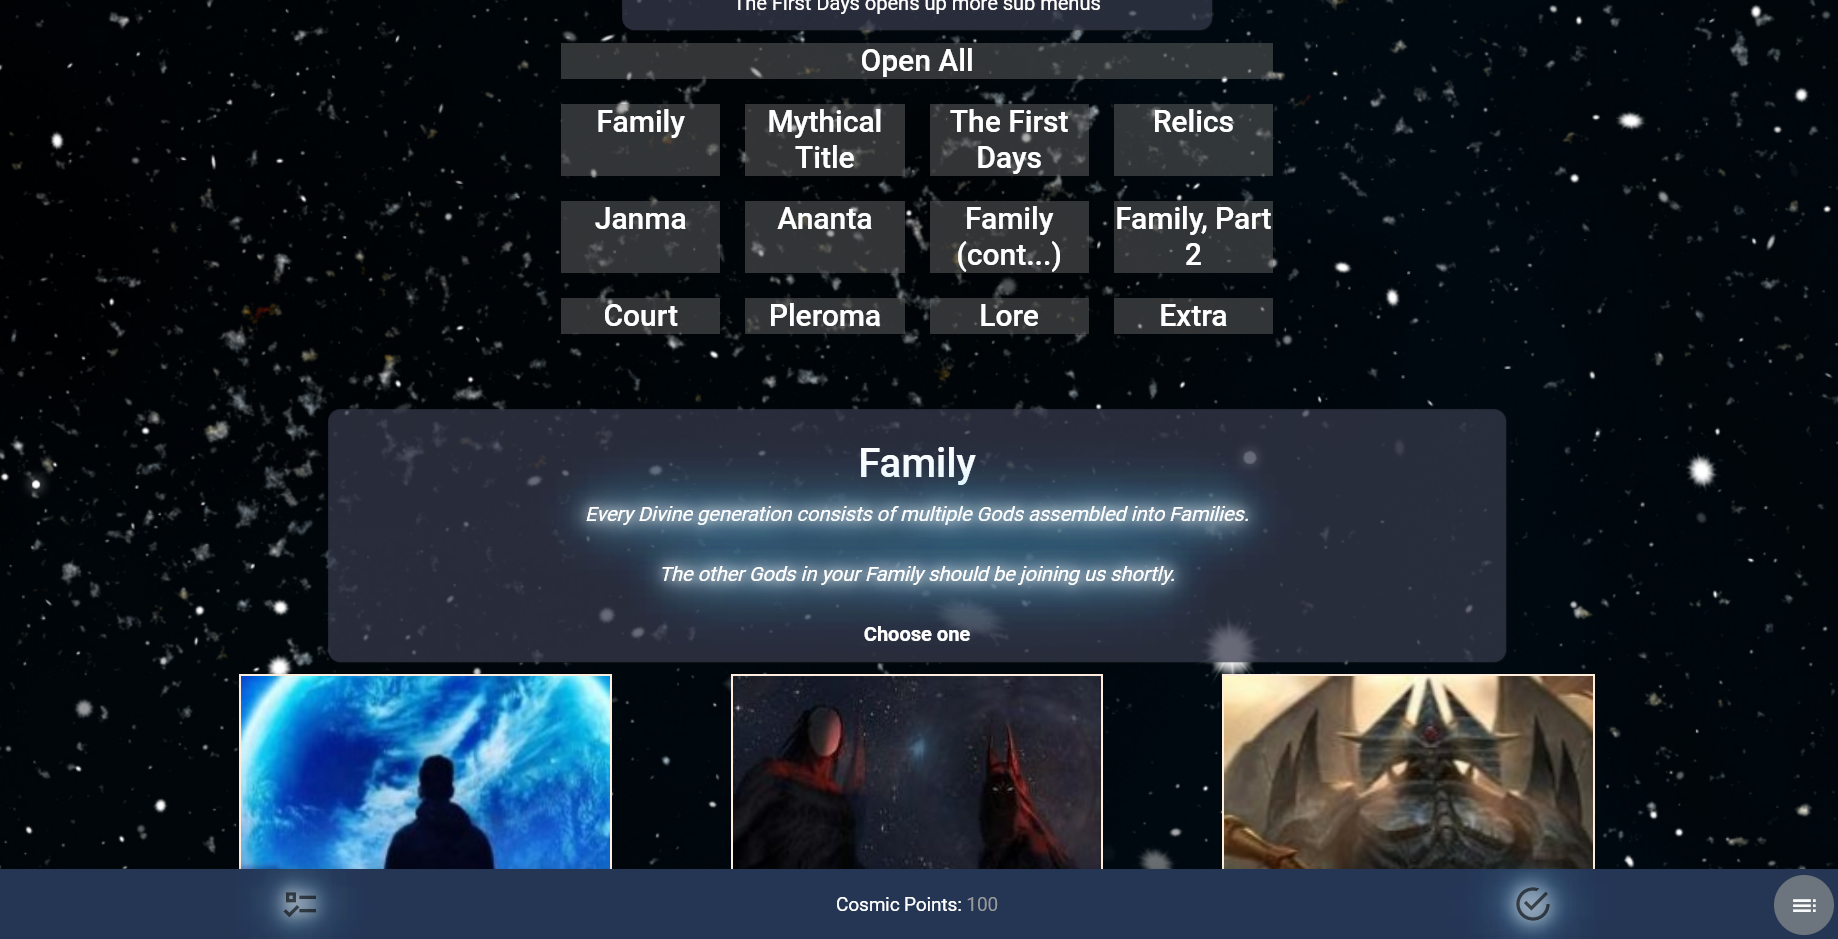
By the end of it you should have a mechanically-finished CYOA without styling or images that is playable. After that it is, feel free to add images and styling:


Styling
One thing you have to consider before styling is whether to try to make your Interactive CYOA as close to the original as possible, to allow for minute changes in order to make it more enjoyable to play, or to completely change the design.
I recommend sticking as close as possible except where improvements can be made, because a lot of your audience will be people who love the original. However, if the design is bad or non-existent, it stands to reason that you should make your own design.
See the Styling section for more.
Publishing
Once your CYOA is officially complete and you want to release it, you will want to publish it to a site.
This topic is covered in more detail in the Publishing section.
Improving
The final step is to improve! Be on the lookout for comments that talk about bugs and errors, spelling mistakes, suggestions, etc. These are invaluable to refining your Interactive and making it better and better.
Many people will release their CYOA before it is done or finished in a "WIP", "Alpha", or "Beta" stage in order to get suggestions before it is officially released for the first time. You can do this if you wish.
Final words
And with that said, go ahead and create! I think all people's first attempt won't produce the best CYOA ever, but as with a lot of things, the more you do something and the more you practise it, the better you will get at it. So go ahead and try! Start small, and work your way up. And don't forget to post it to a CYOA subreddit so the rest of the community can play it and give feedback!