Buttons and Variables
Buttons are, well, buttons that you can add to Rows. These nifty components can add a bit of spice to your ICYOA, depending on what you want.
Variables are used exclusively within Buttons as a way to tell when a Button is pressed or not.
Adding Buttons
You can add a button by opening up Edit Row → Button?. You will find the switch on the left hand side.


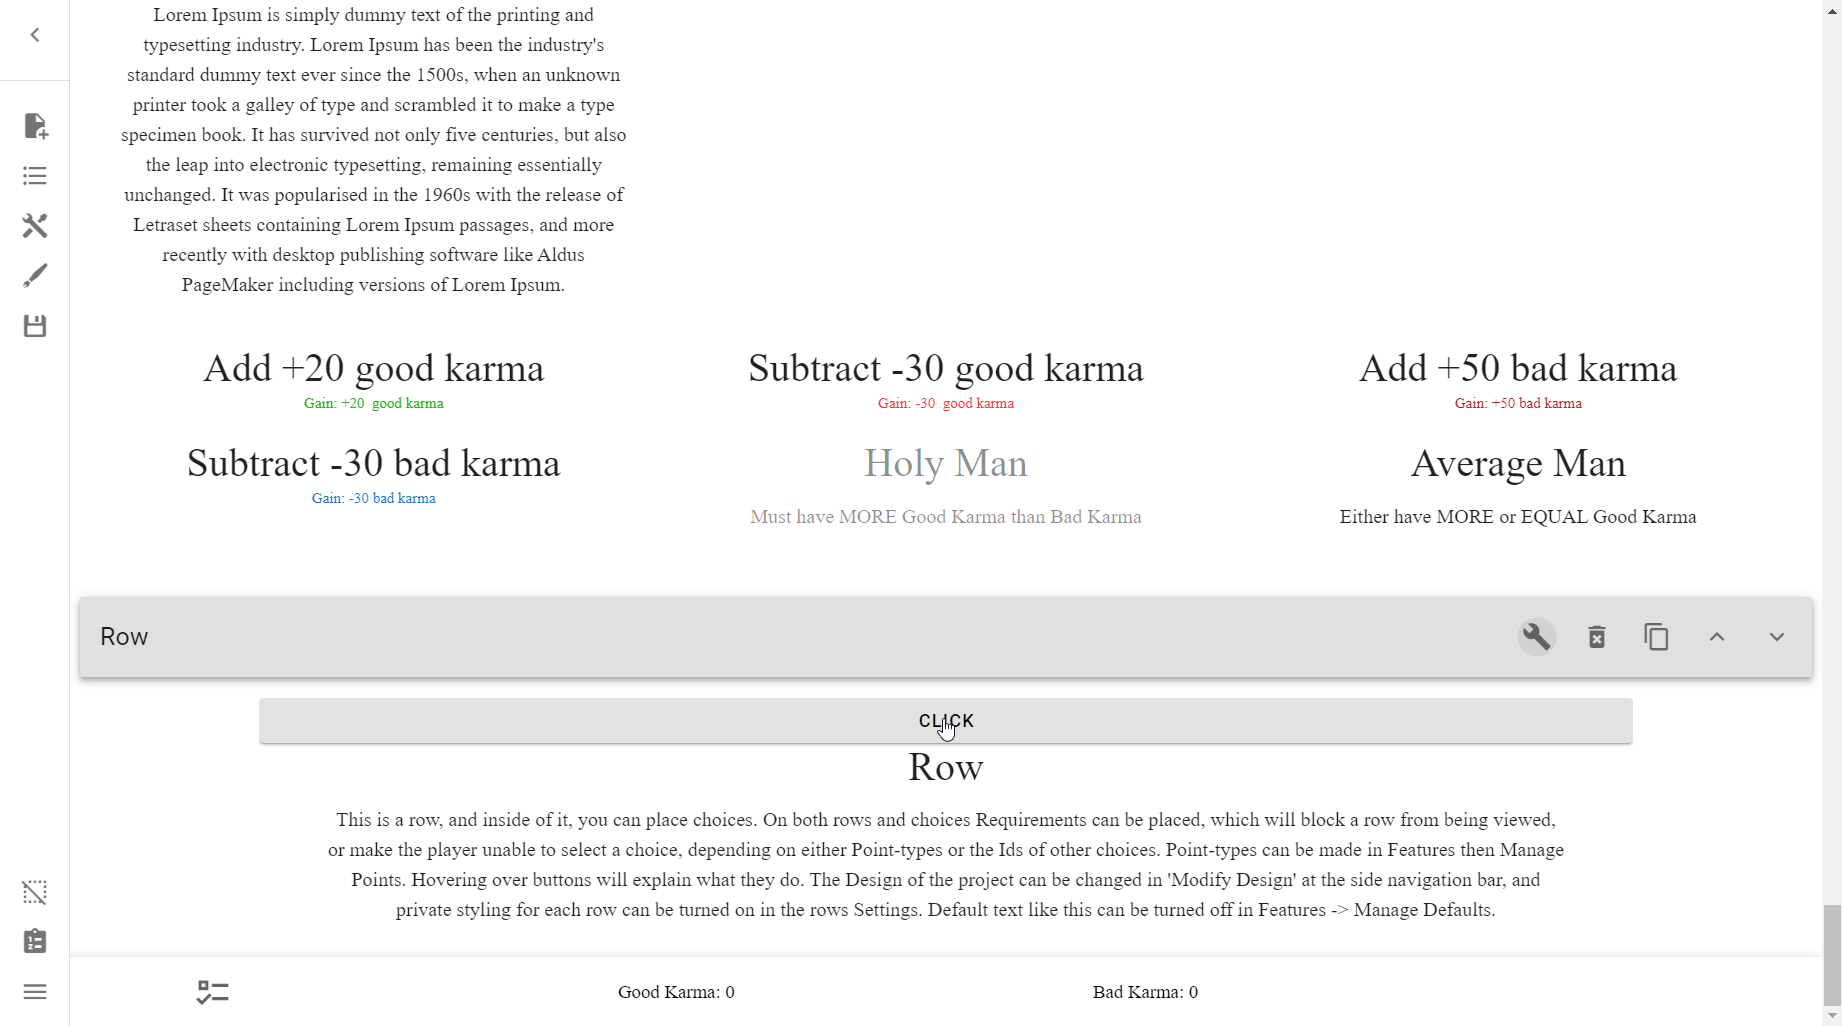
If you go out of the Row menu now, you should see a button on the Row:
Warning
Buttons, unlike Choices, cannot be locked away by Requirements. If you absolutely must lock it away, consider locking the Row itself.
If you need to connect this Row with Choices that can be pressed even when the Button does not have its Requirements met, then consider using two Rows instead, with the Button's Row being completely empty, but the same Tab showing both of them at the same time.
It's useless for the moment, but we can change that by pressing Open Button Settings.
Open Button Settings
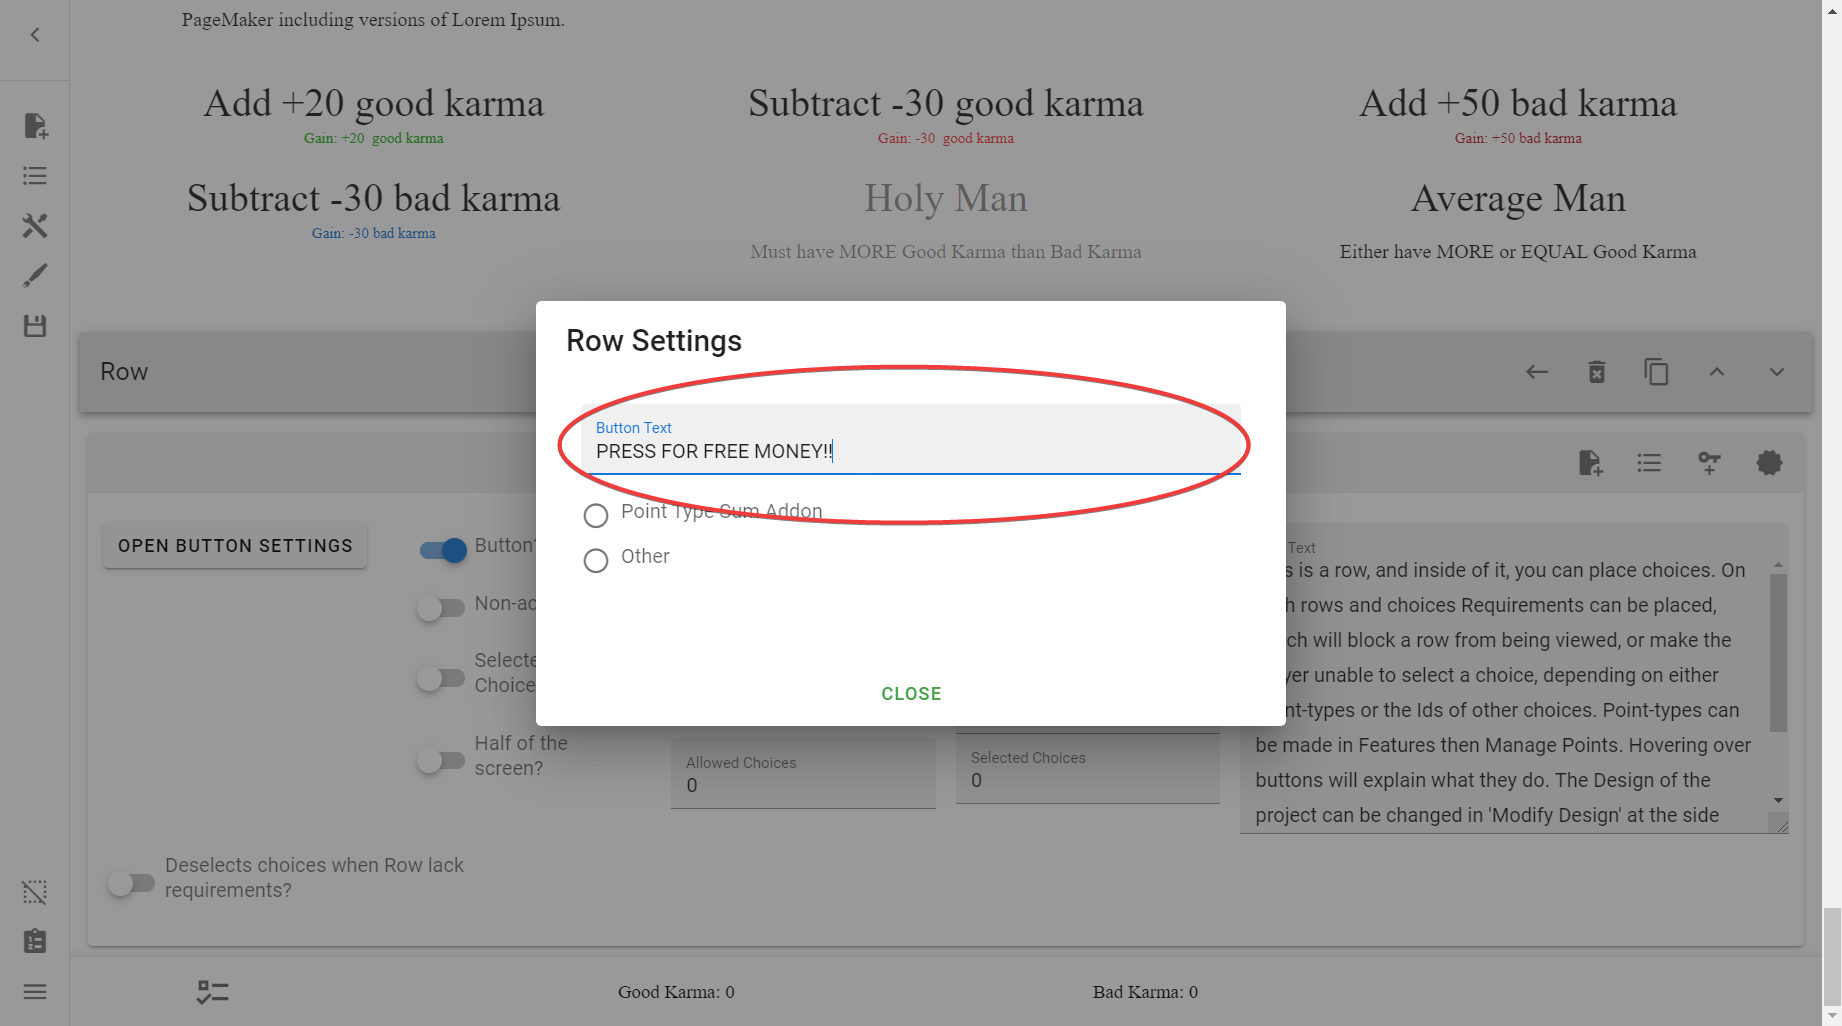
You should see this screen now:

We'll walk you through this whole section.
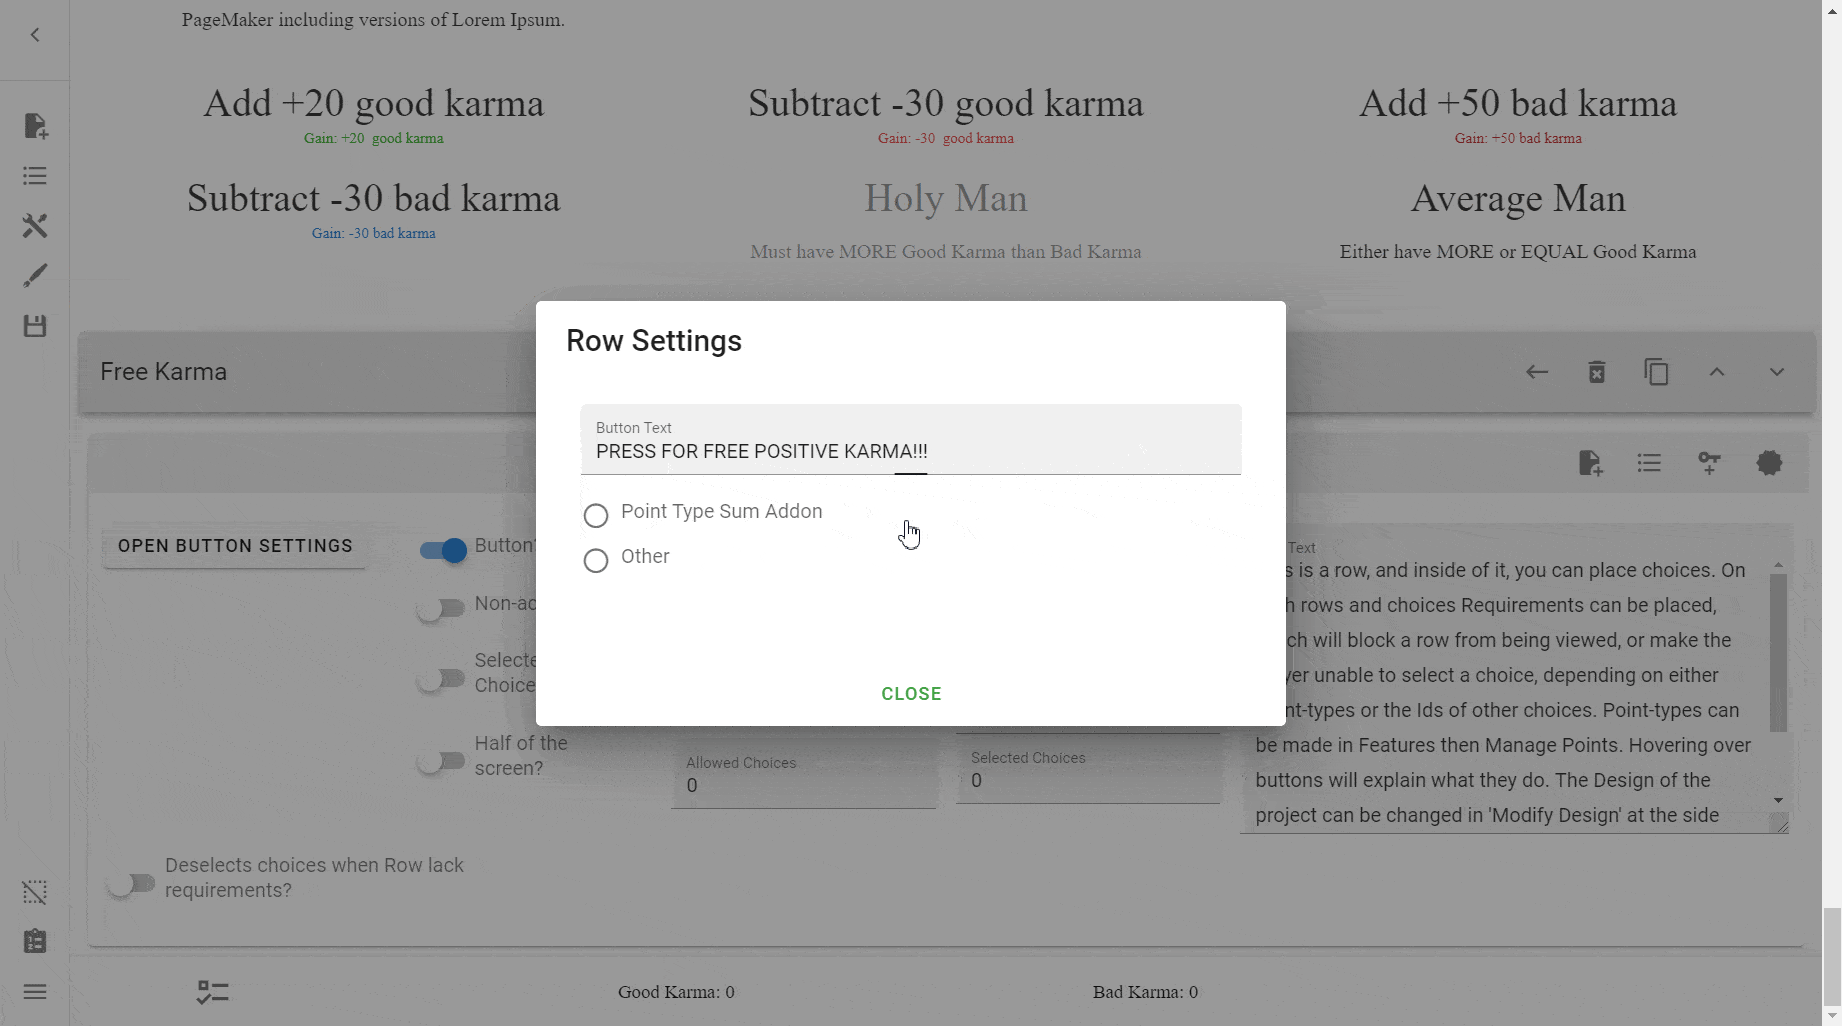
Button Text
This field lets decide what the text on the button says.

Now, your Button is still useless as it is. You change that by pressing either Point Type Sum Addon or Other, which we'll cover next.
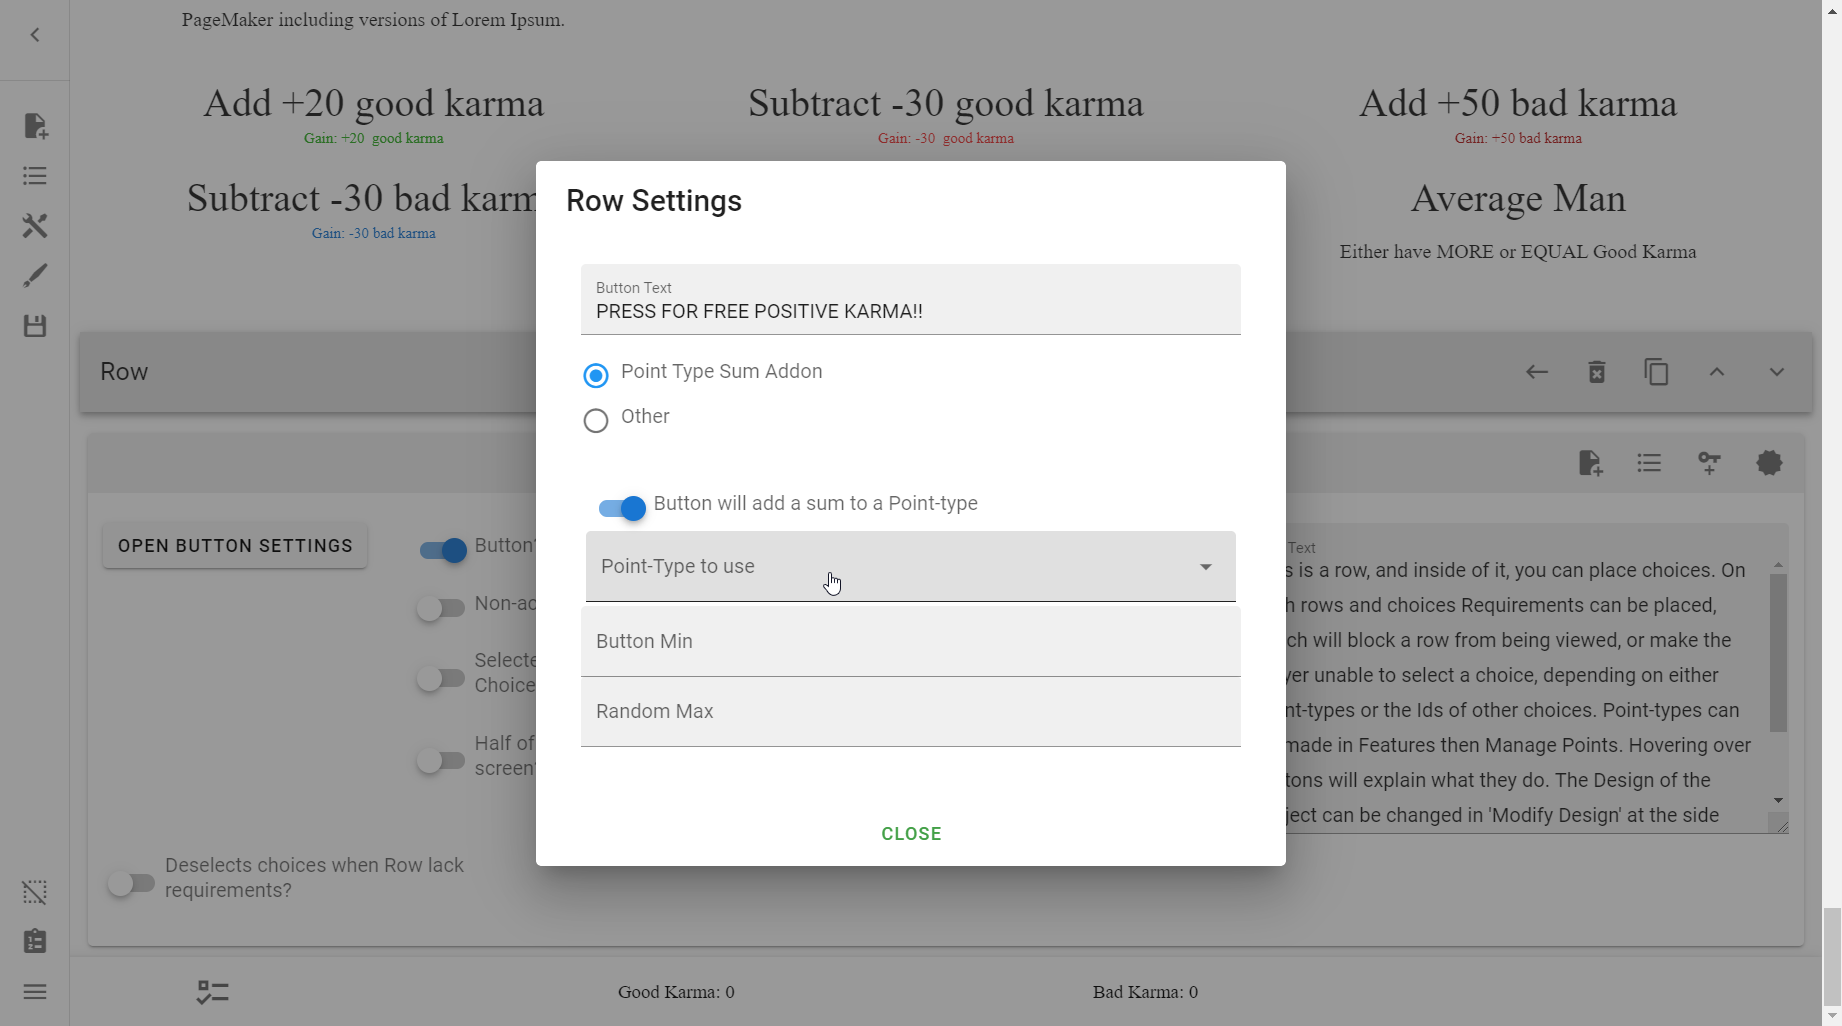
Point Type Sum Addon
This, along with "Other" is one of two modes you can set your button to. This button mode is concerned with adding a sum to a Point Type.
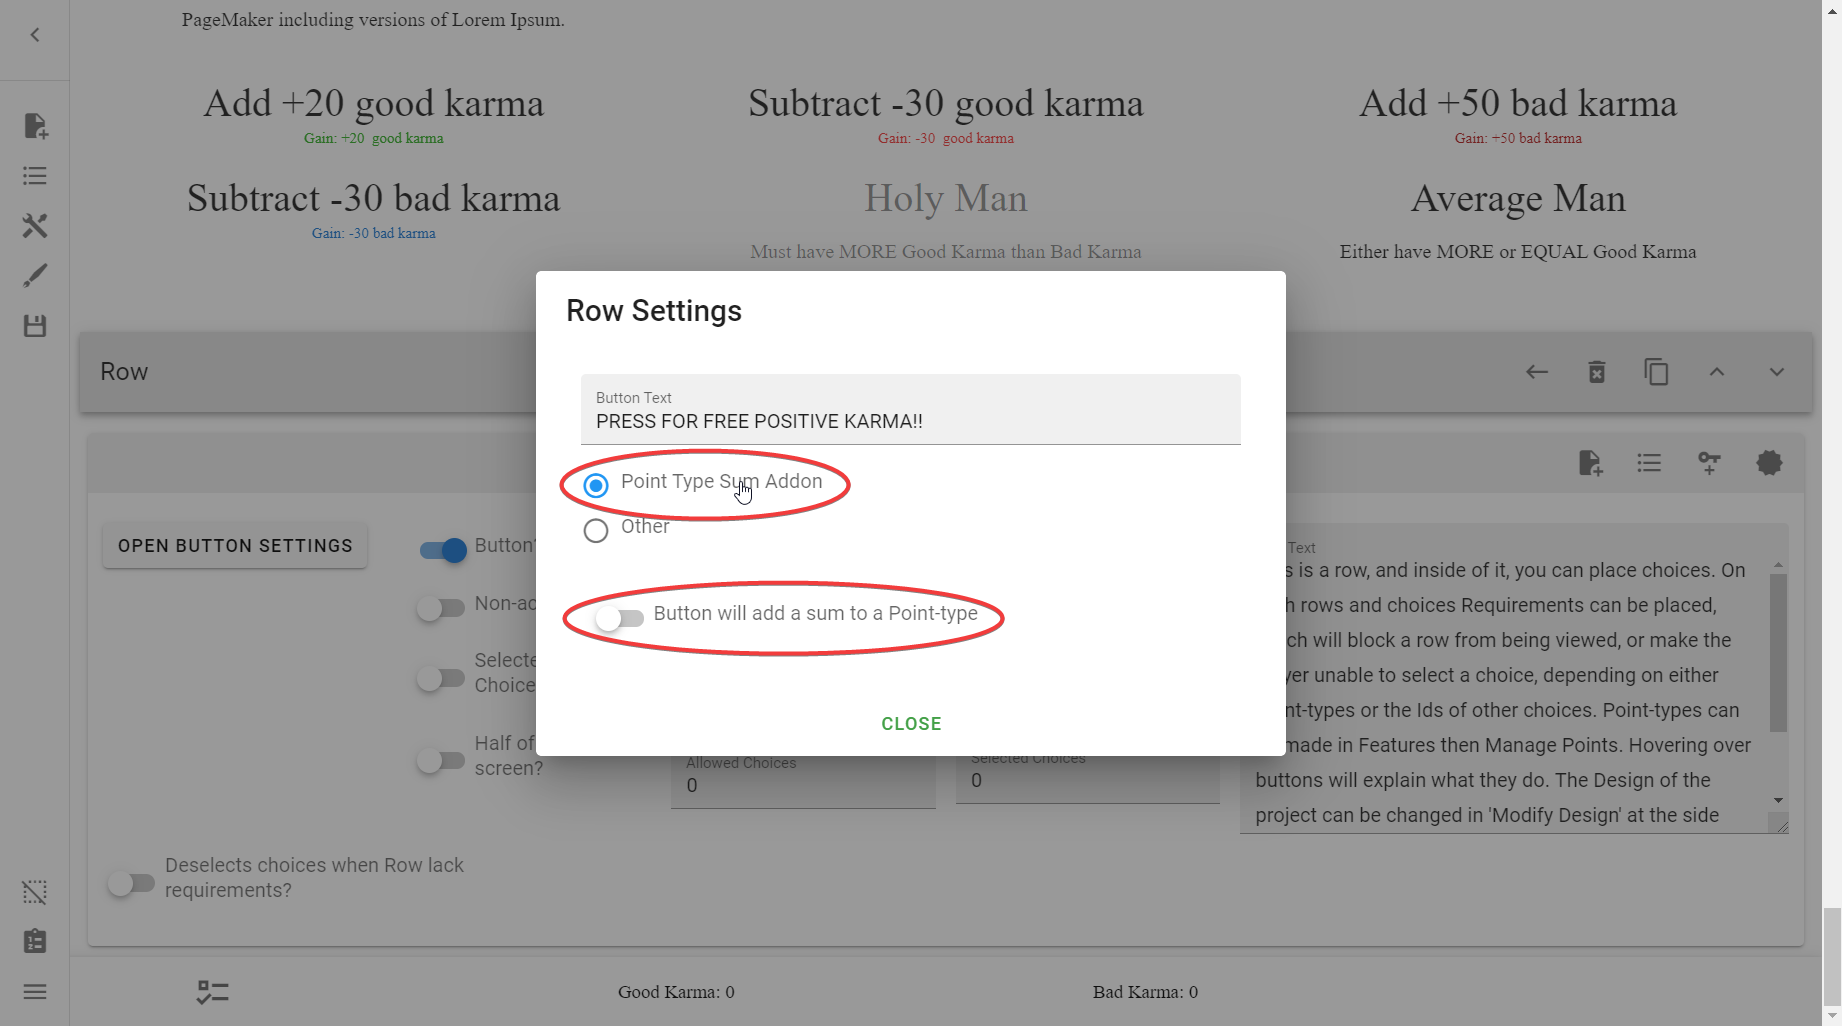
Button will add a sum to a Point-type
This switch only shows when you've selected the Point Type Sum Addon mode. It is basically asking you to confirm your choice above.
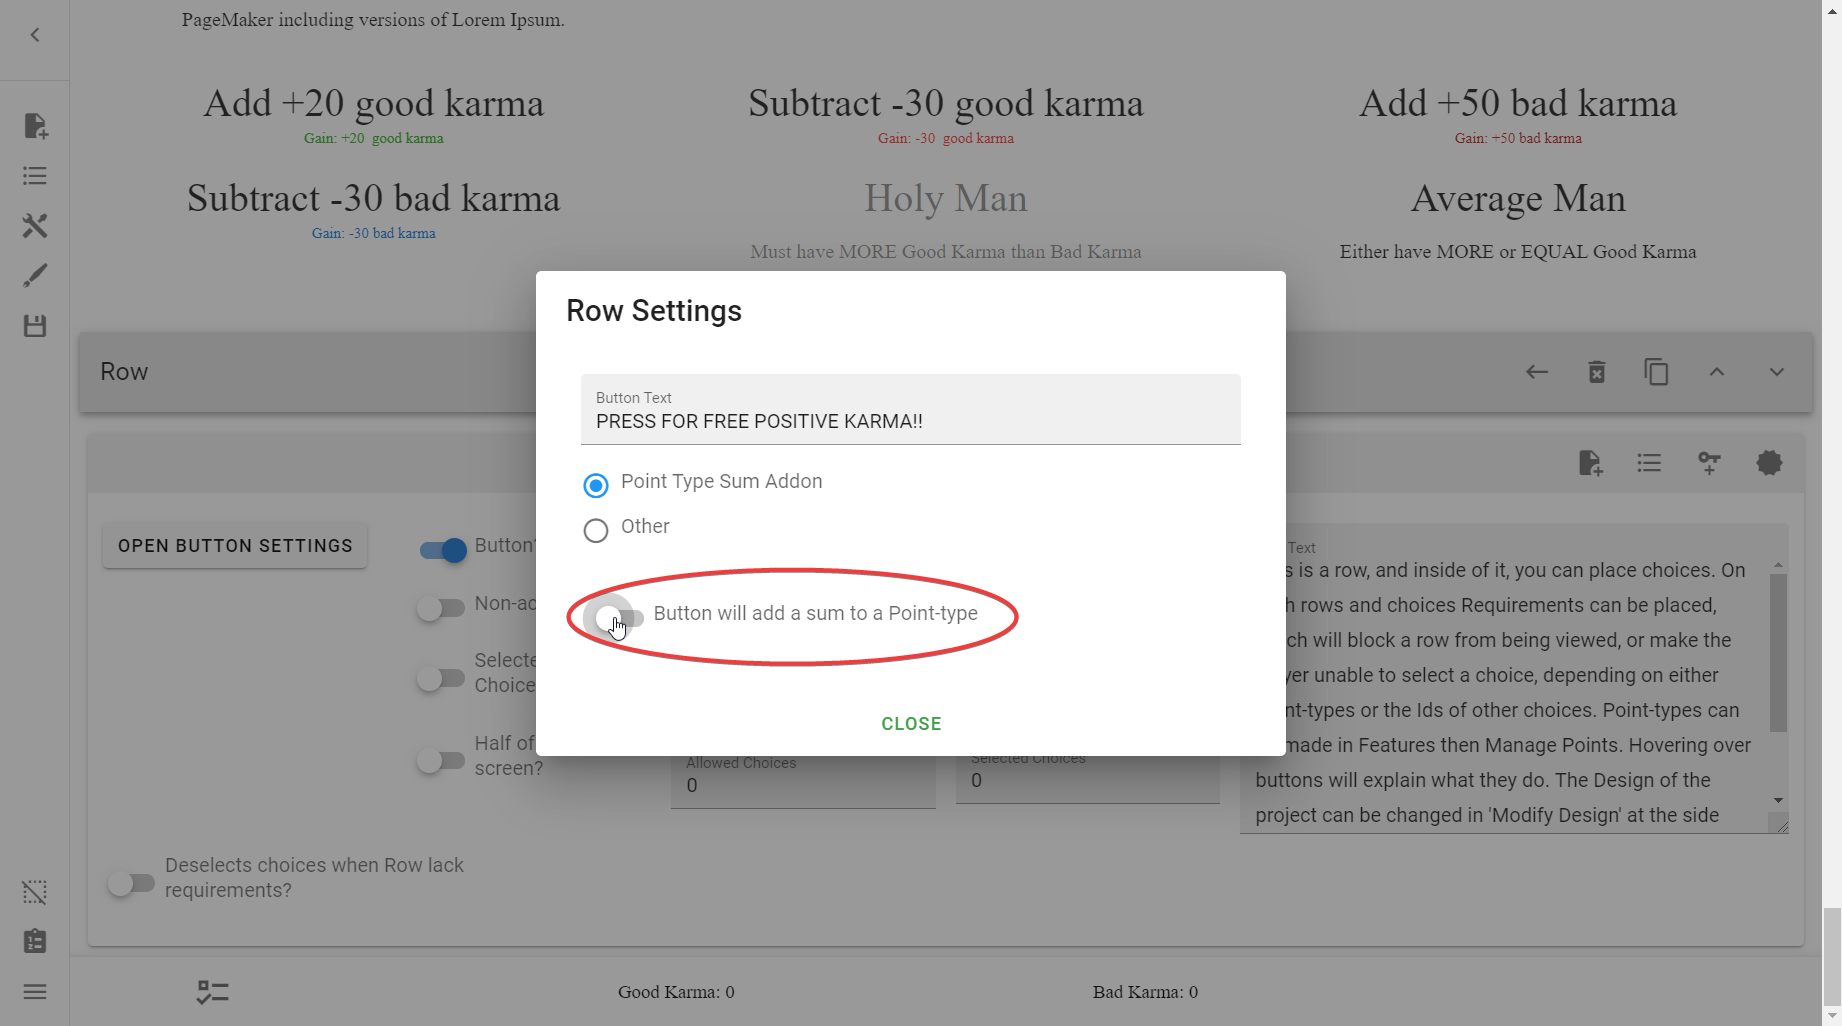
Selecting it will yield more options:

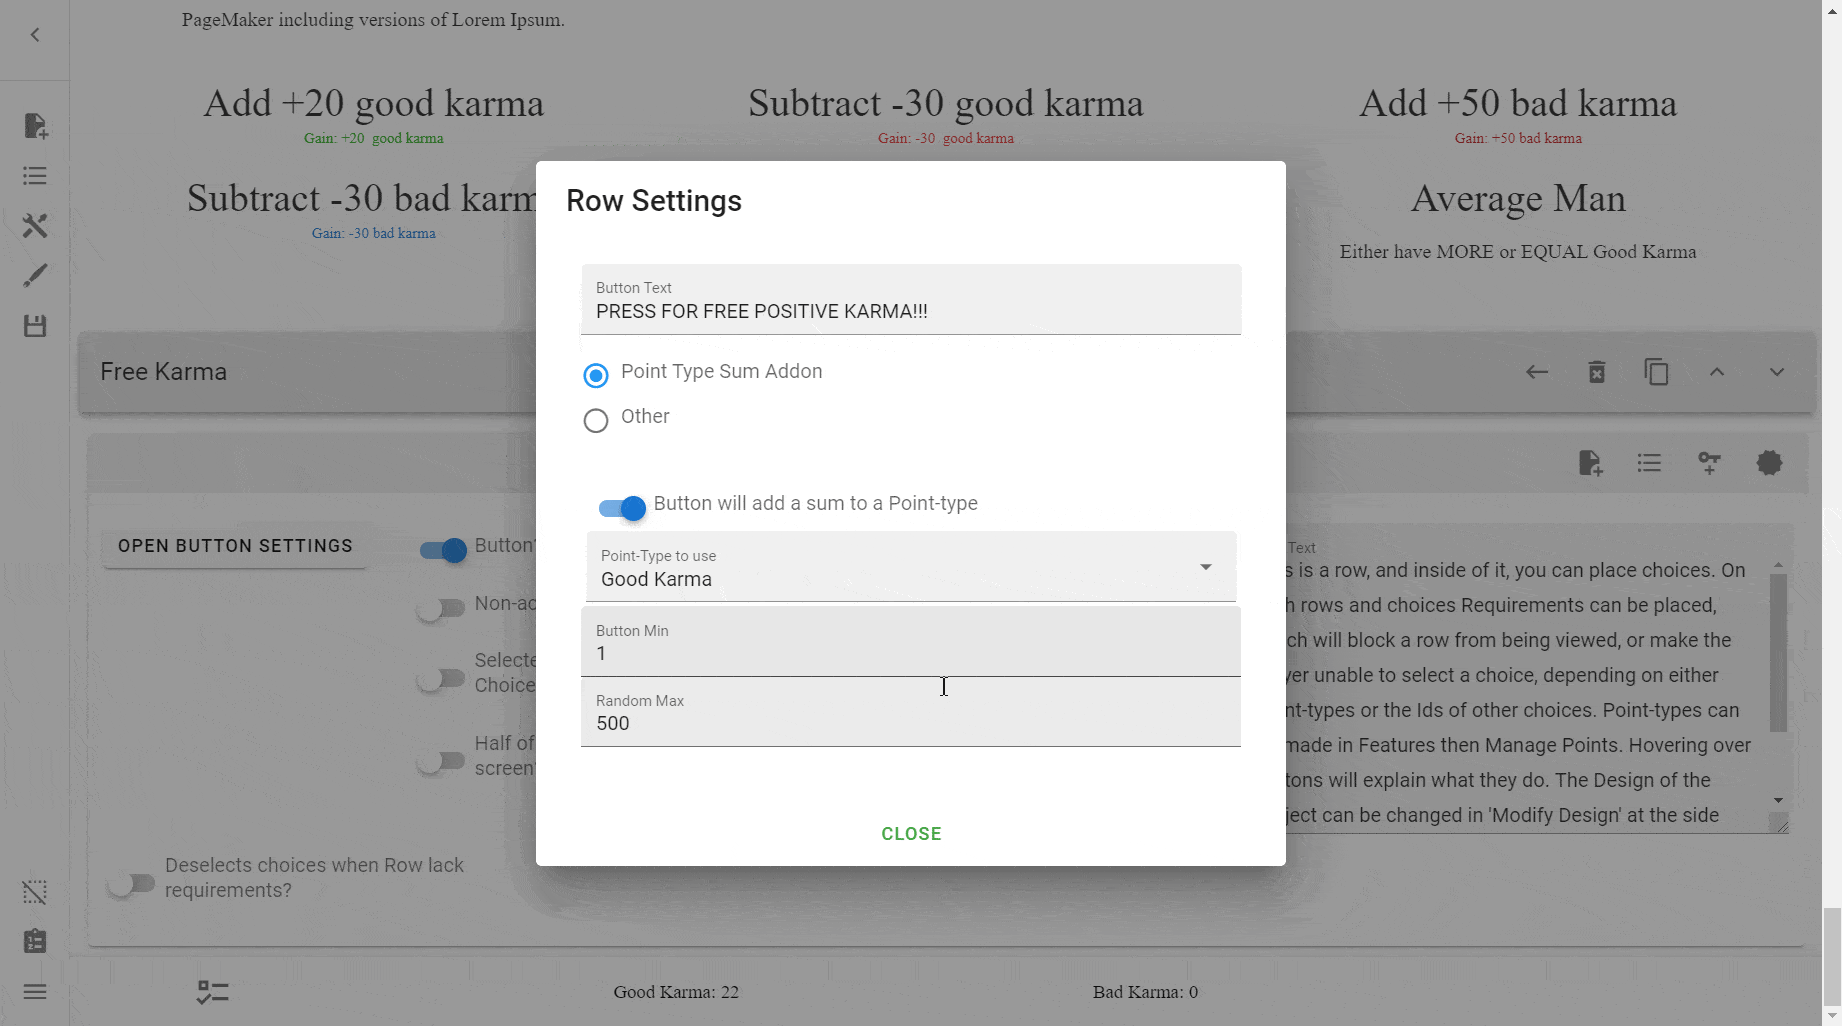
Point-Type to use
This is a dropdown menu where you can select whichever Point Type you want to add or subtract to.
Button Min
If you just wanted to add a single static value, use the same value for both this and the Random Max field.
This is the value that will be added to your Point Type.
Danger
Do NOT leave both of these fields empty. If you do, you will get a NaN error in one of your Point Types.
Unlike Scores:
- If the integer is positive, this will be added
- If the integer is negative, this will be subtracted
Warning
This button can be pressed over and over again, with no requirements stopping it. Be careful with this.
Here it is in action:
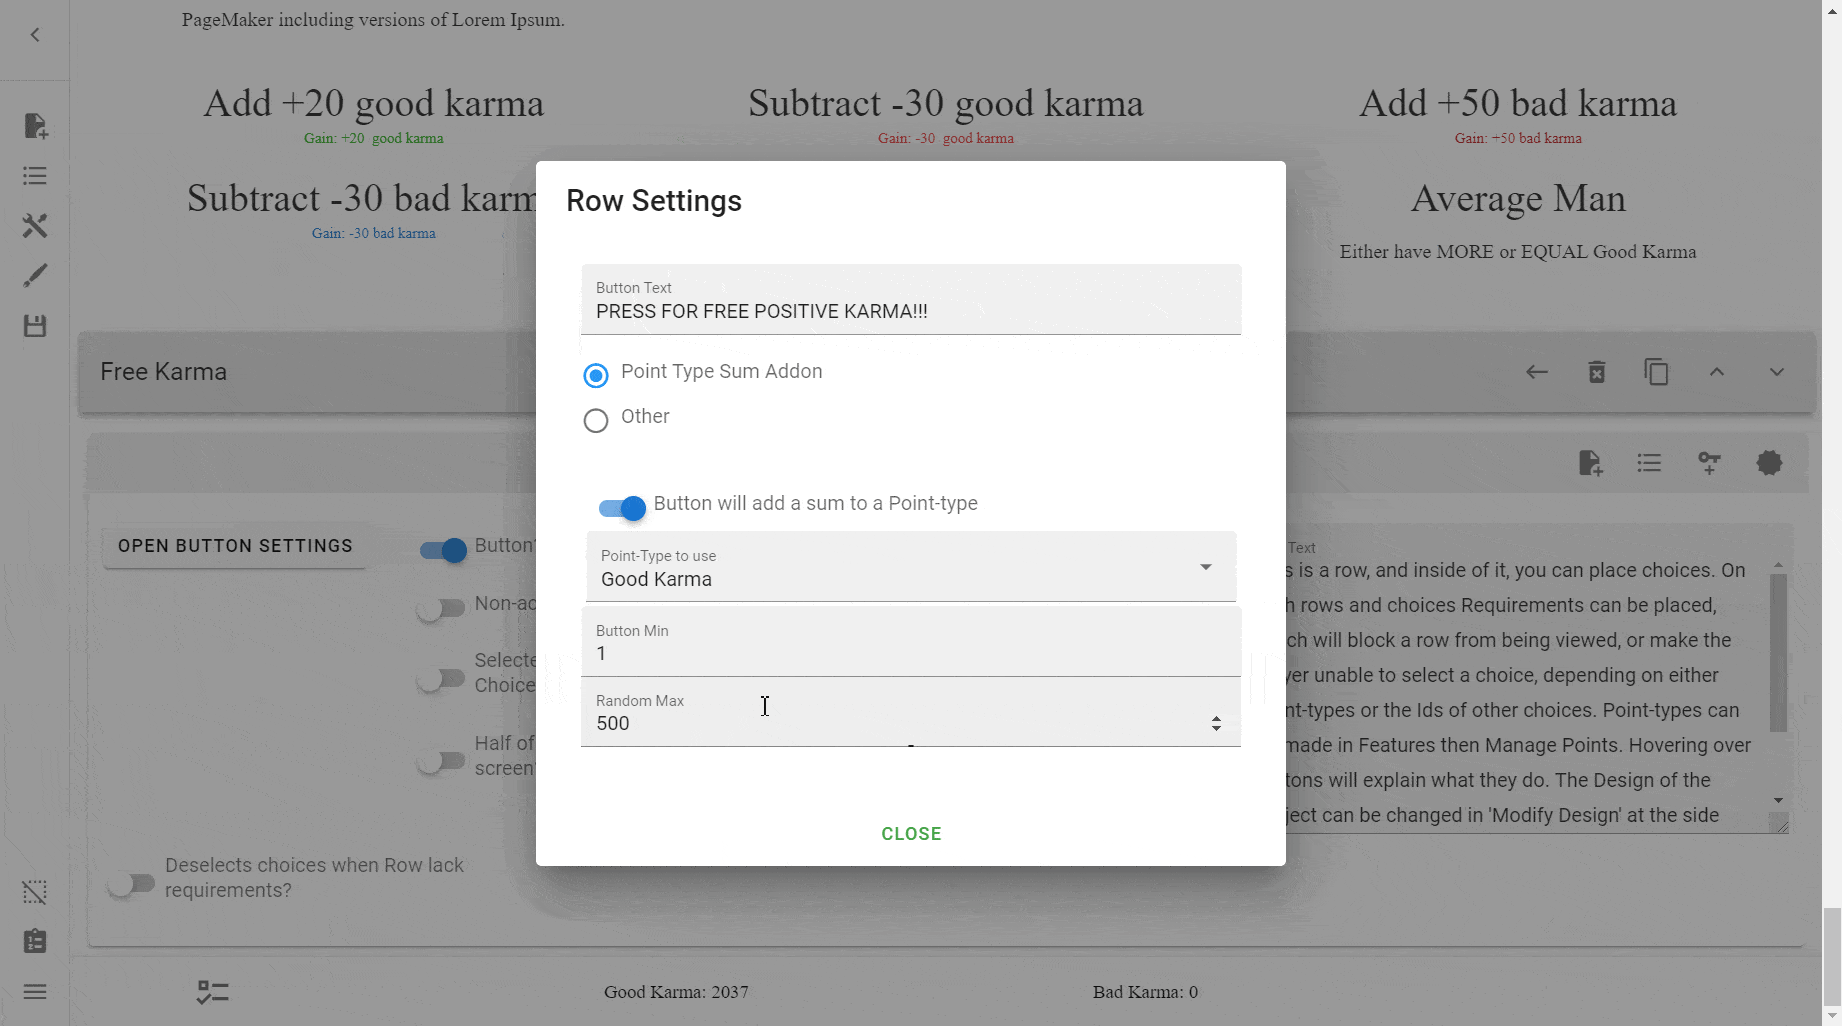
Random Max
If you wanted to generate a number between X and Y to add, then use this. The X or minimum is what you would set the Button Min to, and the Y or maximum is what you would set this to.
Warning
The Random Max is effectively exclusive. That means to generate a number between 1 and 10, you would need to set the Random Max to 11.
Note
The Creator is actually inclusive (includes the maximum number), but bugs whenever it is supposed to add the maximum points, meaning that sometimes the Button won't work at all.
This means that the smaller the gap between the min and max, the higher the chance of generating the maximum number, and thus failing to add the amount to the Point Type.
Note
If you set the Random Max to lower than the Button Min, the generated number will actually be taken away from the Point Type.
As an example, here is a button that adds a random number between 1 and 500:
And an example of subtracting a value:
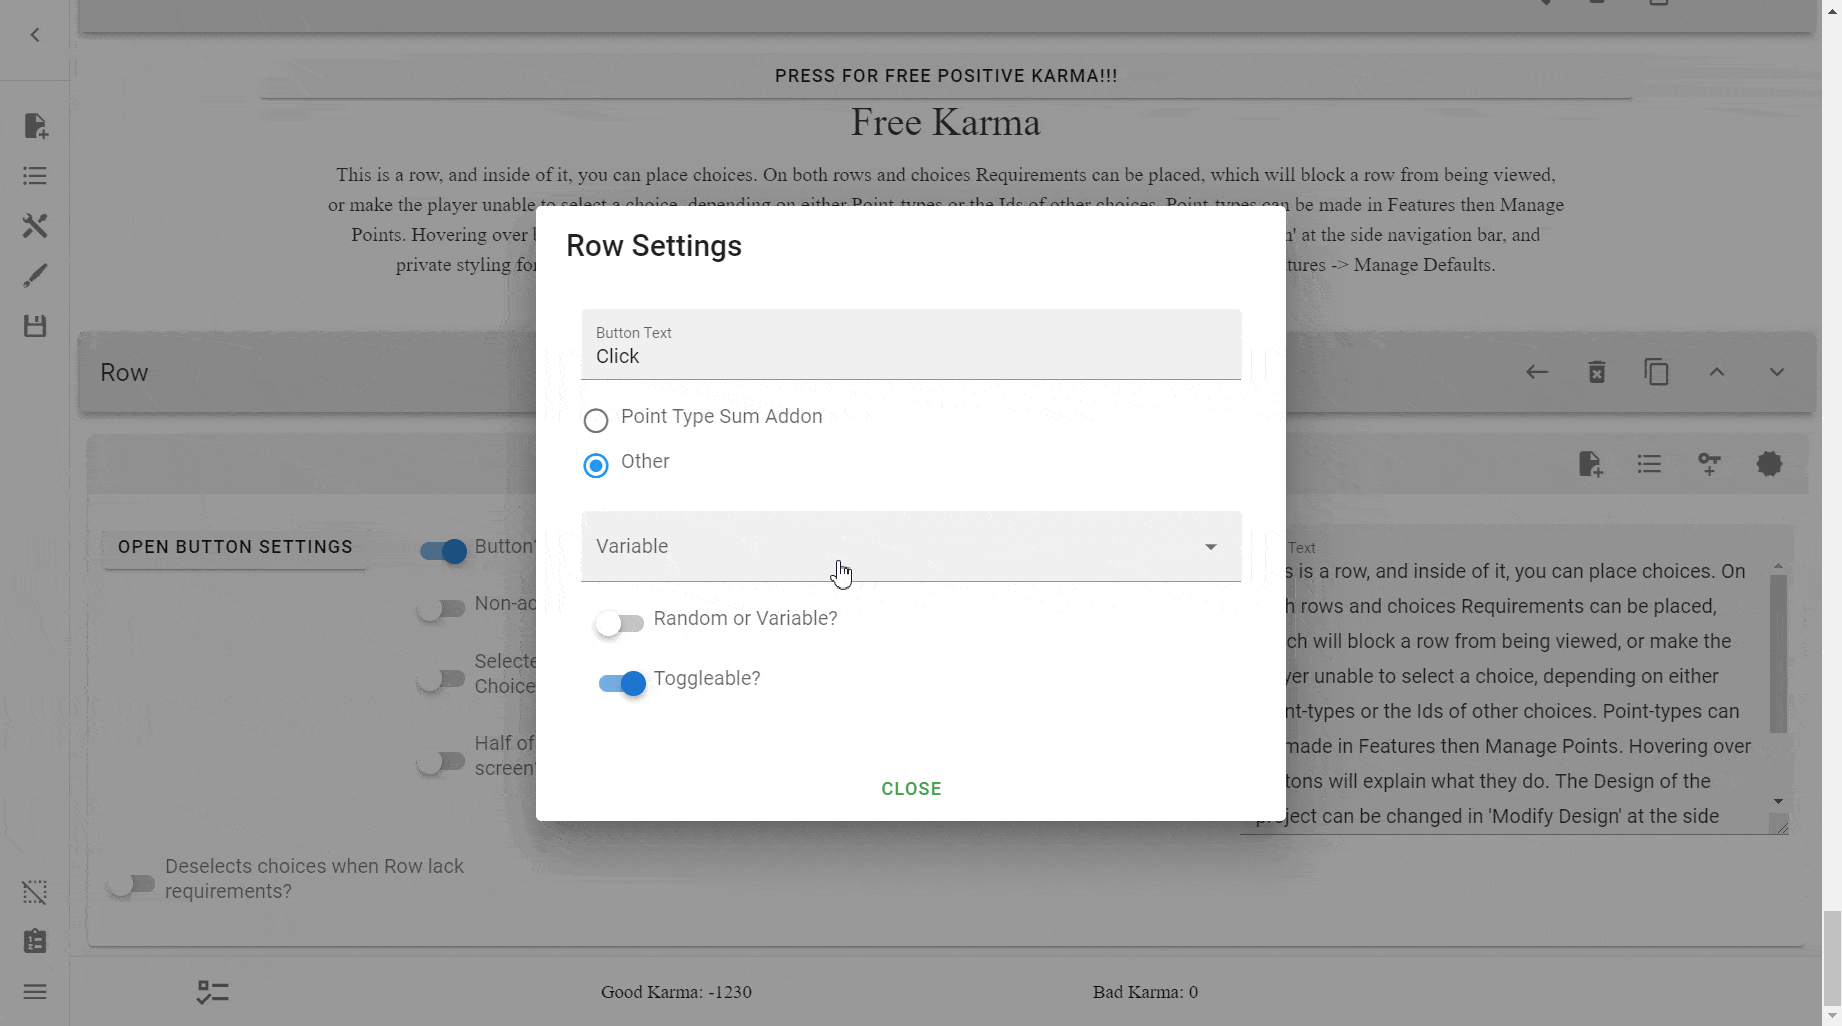
Other
Choosing the Other mode will allow you to use a "Random" or a Variable". We'll go into what this entails now.
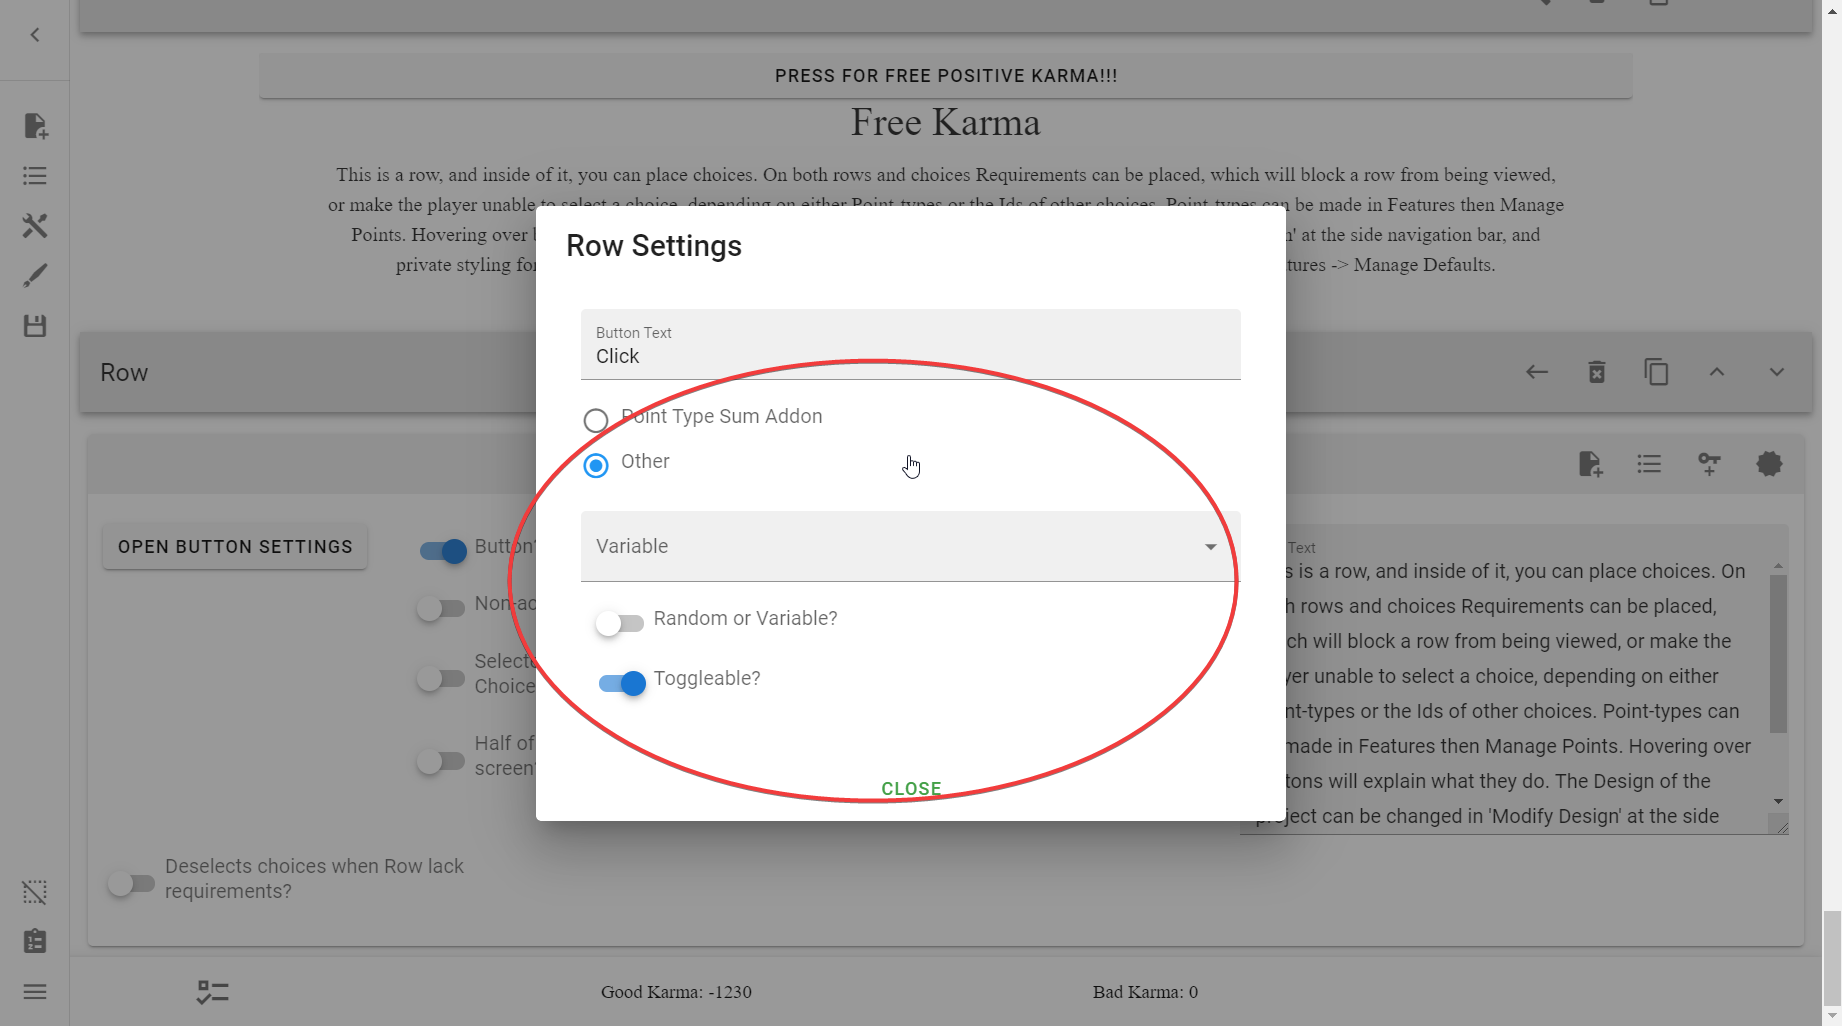
Variable
"At this point, variables can only be used with button rows and can be attached to a button when it is created. Clicking a button with a variable attached to it will push the id of the variable into the array where the ids of selected choices lie. This makes it possible to use the id in requirements for rows and objects."
"Variables can currently only be used by adding them to buttons, which in turn can activate and deactivate them, and the variable-id can be used in requirements."
– Interactive CYOA Creator
When you first try use a Variable, you'll notice that there are none:
So we'll need to create a Variable.
Creating Variables
In order to create a Variable, you must go into the Sidebar → Open Features → Manage Variables.
That will open this menu:
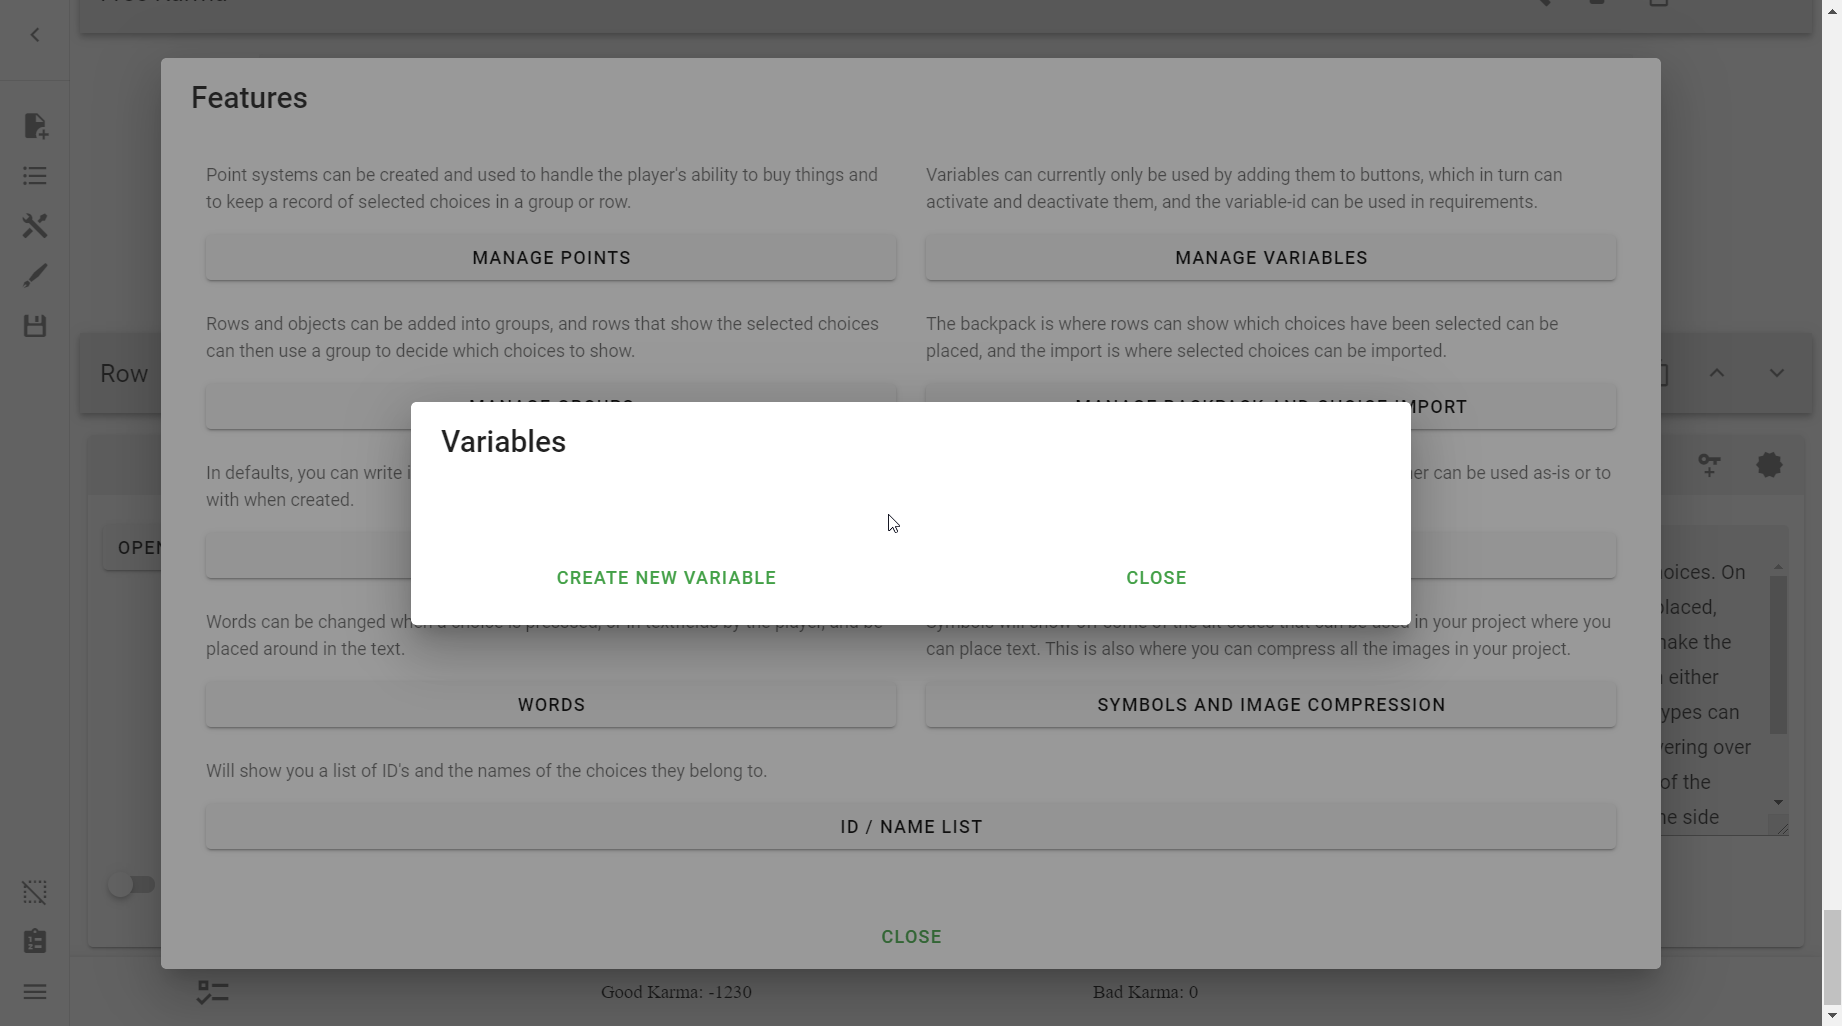
Then, simply press Create New Variable. Your new variable will be created:

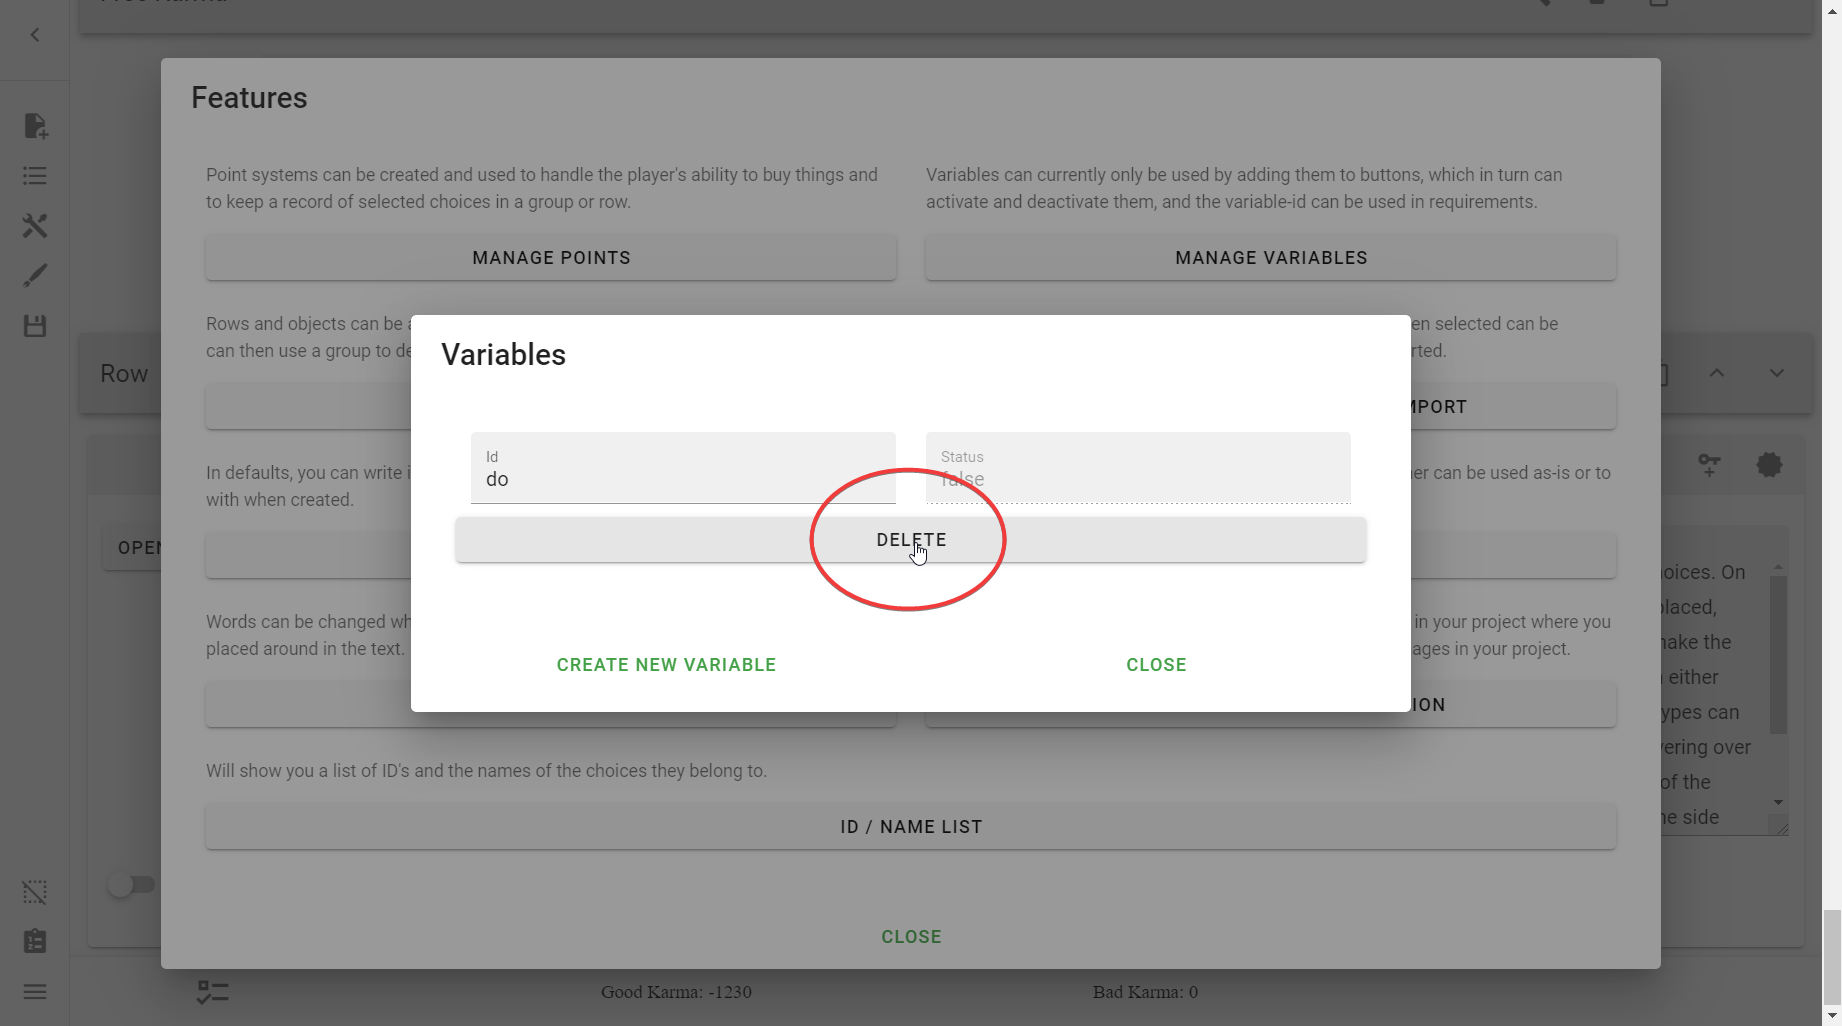
You will notice three things:
- Id – The ID for the variable.
- Status – A value, either "true" or "false".
- Delete – This will delete the Variable.
Id
This is the unique ID for the variable. You will use this interact with it, such as using it Requirements.

Status
This is a Boolean value, representing either "true" or "false". This is what Requirements check is true or not.
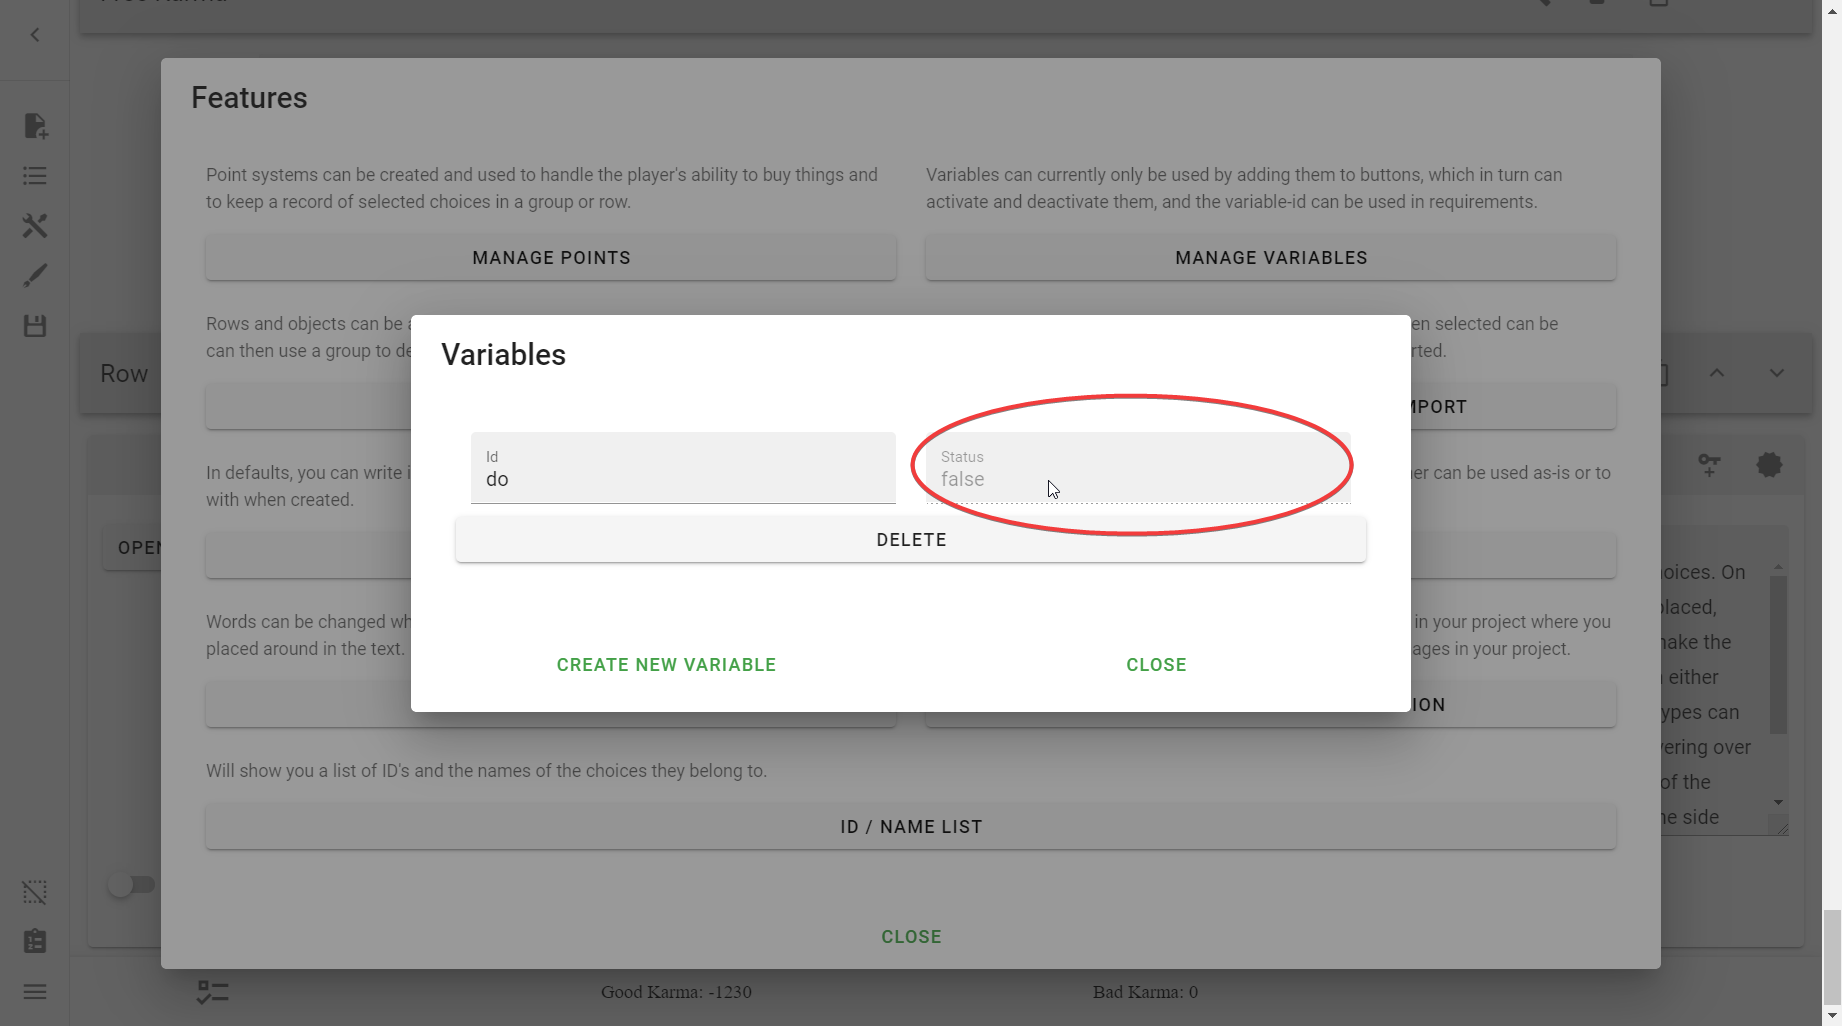
Deleting Variables
Simply press the Delete button in the Variable menu.
Warning
This will not prompt and will instead immediately delete. Use caution when using this.
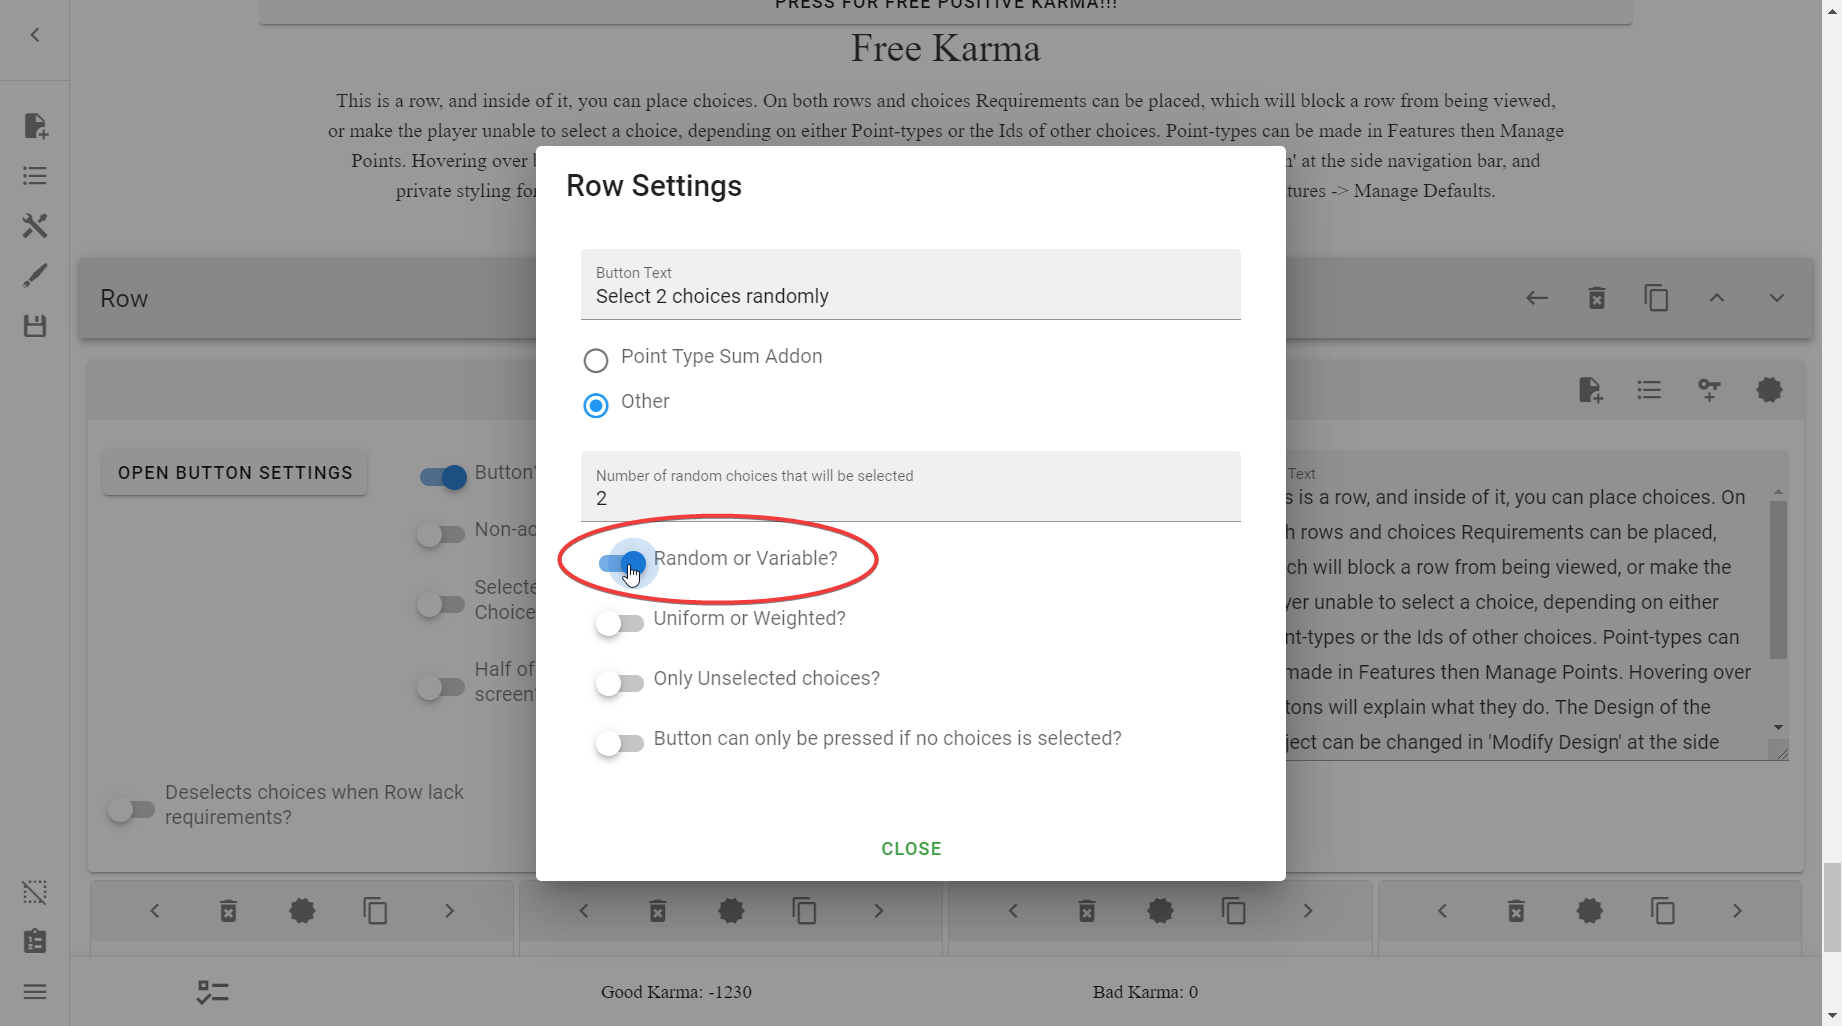
Random or variable?
This is, by default, off.
- When it is switched off, it uses a Variable.
- When it is switched on, it randomly selects a Choice.
Variable options
Note
These only show if you've elected to use a Variable.
Toggleable?
This is, by default, on.
This means that pressing a button will turn false to true and true to false and it could keep going on and on as long as the user is pressing the Button.
If you turn this off, pressing the button once will switch the value, but it only happens once; the button will be greyed out and can not be pressed again.
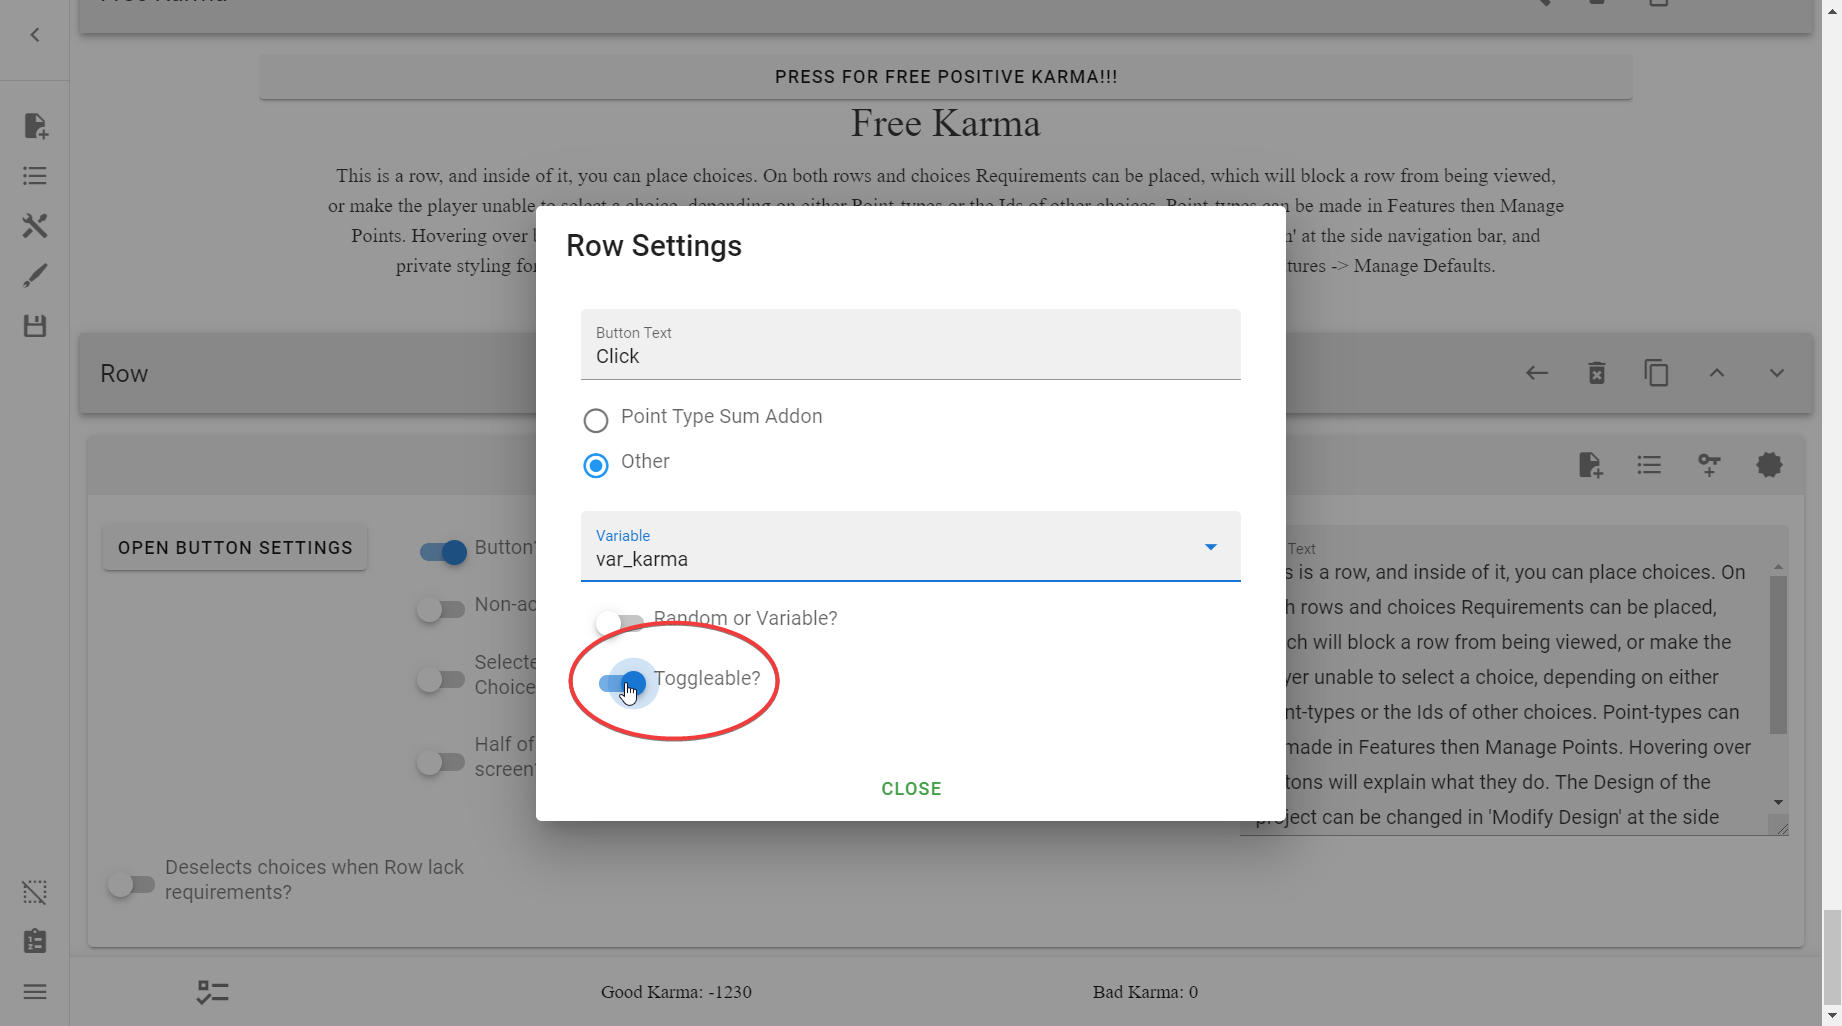
Here's an example of what it looks like with the option switched off:
Example
Random options
Note
These only show if you've elected to use Random.
Uniform or weighted?
This switch allows you to decide between the Random options being picked according to uniform/even distribution, or a weighted distribution.
In theory:
Uniform distribution-
The chance that an entry is picked is the same for each entry in the set. This is called even distribution or uniform distribution.
Weighted random distribution-
Suppose we’re creating a question-answer game, and we want the questions the user got wrong previously to appear more often than the question they got right? This is called a Weighted Random Distribution, or sometimes Weighted Random Choice.
In practice though, weighted distribution does not seem to have been implemented, though it does still randomly picks choices.
Number of random choices that will be selected
Note
This only appears if Uniform is switched on.
This option denotes how many Choices will be randomly selected.

Example
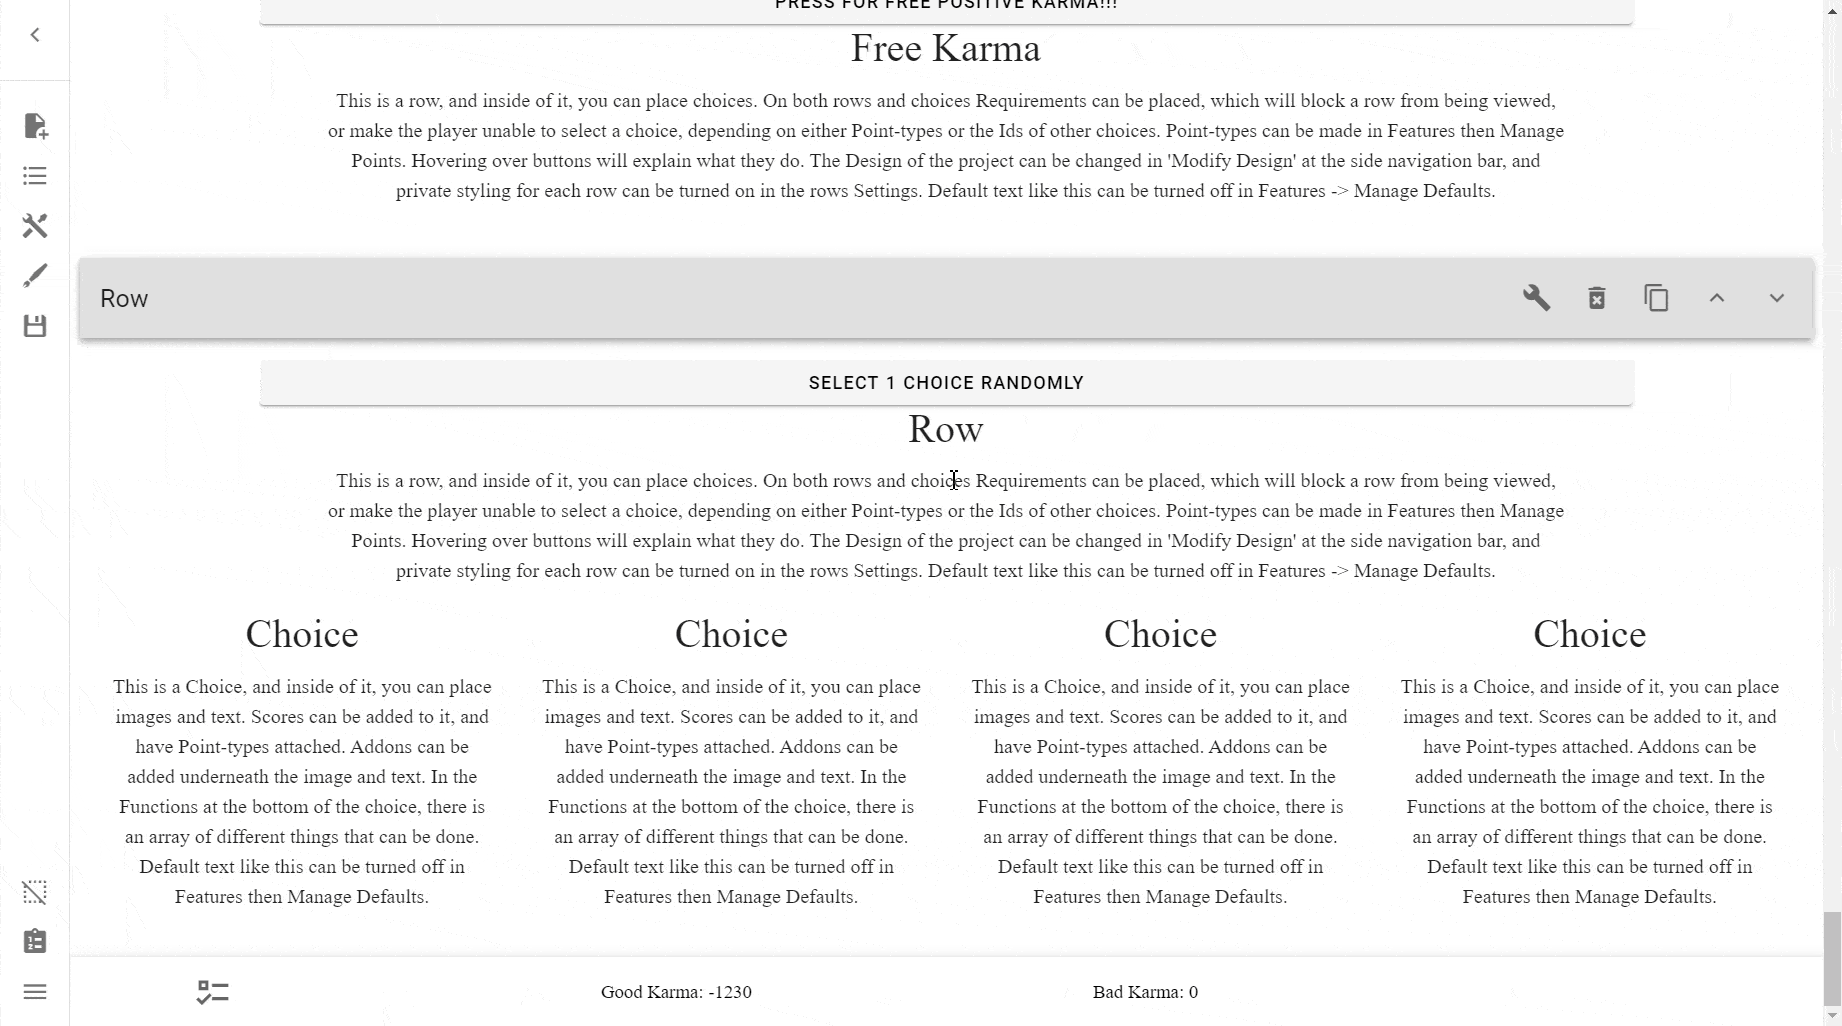
Do note, however, that like in the example, randomly selected Choices can select already selected Choices, effectively unselecting them if the Only Unselected Choices? switch isn't turn on.
If you wanted to make sure that it selected Choices once and that is it, turn on the Button can only be pressed if no choice is selected? switch. Note that the Toggleable switch disappears when not using a Variable.
Only Unselected choices?
This option tells the Button that it should only select from unselected Choices. This ensures that you do not unselect Choices from constant button presses.
This doesn't apply when the Button can only be pressed if no choice is selected? switch is selected, because all of the Choices would be selected off by default.
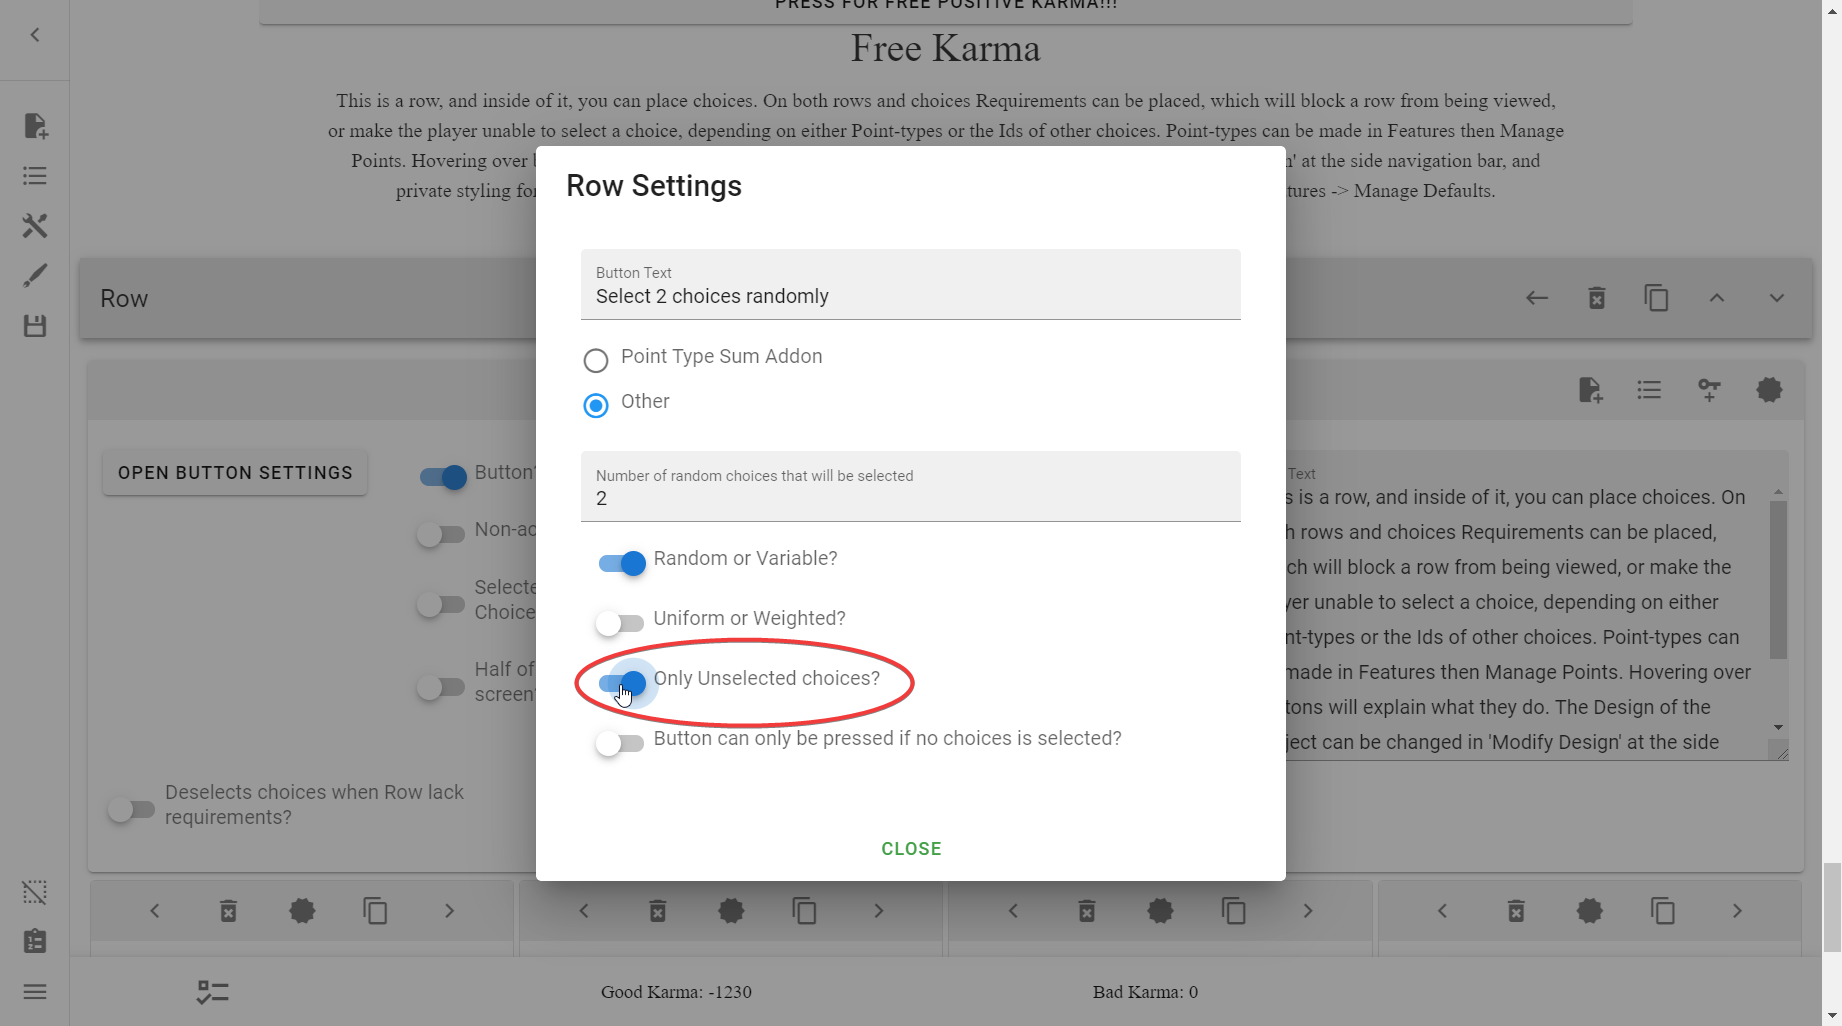
This should allow the user to quickly fill up their Choices:

Button can only be pressed if no choice is selected?
This is equivalent to the Toggleable switch, meaning that once the button is pressed, the Choices selected cannot be undone.
The difference being, unlike the Toggleable switch, if you unselect all of the Choices you can press the Button again.

Example

Reference
Hide a Row behind a button
Use a toggleable variable and use that ID in a selected choice requirement
Make a DnD-style 1d20 skill check
This is how to make this:
Example

This example uses a 1d20 dice, but you could possibly hack this to produce other methods.
Note
This is quite a complex example, but once it is made you can just clone the Rows if you need it again.
- Create a Point Type to be used for this only
- Set the
Id Needed To Showoption to something random to hide it from the Point Bar
- Set the
- Create the Row that will house the
Rollbutton- Switch on
Button? - Select
other - Tick
Random or Variable?on - Select
Only Unselected choices? - Select
Button can only be pressed if no choices is selected?only if you want it to be a one time thing - Go back to the Row edit menu
- Change
Allowed Choicesto 1 - Create a base Row for the value of "1"
- Under that Row, add a Score with the value of "-1" to add to a Point Type
- Select the dummy point type you made above
- (optional) if you want to display the result later on
- To display the result of this choice, create a Word
- Change the ID to something unique like #encounter-roll, and set the text to something like
0or(Roll first). This is the text that is displayed before you have rolled, so it doesn't matter. - Select Functions →
Word will be changed to something else at select. - Change
Will be changed to this on selectto 1, this will change for each cloned Choice - Change
Will be changed to this on deselectto 0, don't change this when cloning
- Clone the Choice 20 times (the amount of sides the die has)
- Go through each Choice and update the Score and (if you had set it above) Word number as is needed
- (optional) if you want to display the result and did the previous steps: use
#encounter-rollin your text, e.g. "You rolled a #encounter-roll!"
- Switch on
- Create the Row that will house the Results
- Select
Non-activatable? - Create as many Choices as you want messages
- Set requirements for both. Use a
+= More Thanrequirement for what the baseline the roll should achieve to succeed. - For the display of failure, use a
- Less Thanrequirement for the same number as above, and aMore Thanequal to 0 (as this is the default, and you don't want to count it as a failure yet).
- Select
(TODO) Create a button that picks a random Choice only once and permanently
This makes it so that once you press the button not only does the button disappear, but you will be unable to deselect the chosen option.
This is good if you wanted a truly random and risky part of the CYOA.
Note
It is recommended that you make such random selections optional for a regular CYOA, otherwise users who do not choose to opt-in with a selection would have to refresh and re-import their options, and may become frustrated with your CYOA.
Of course, if the CYOA is based around randomness, probability, and luck (such as doing a skill check in DnD), or if you have made a 'Hard' difficulty for your CYOA then this could be useful.